
Add and configure physicians
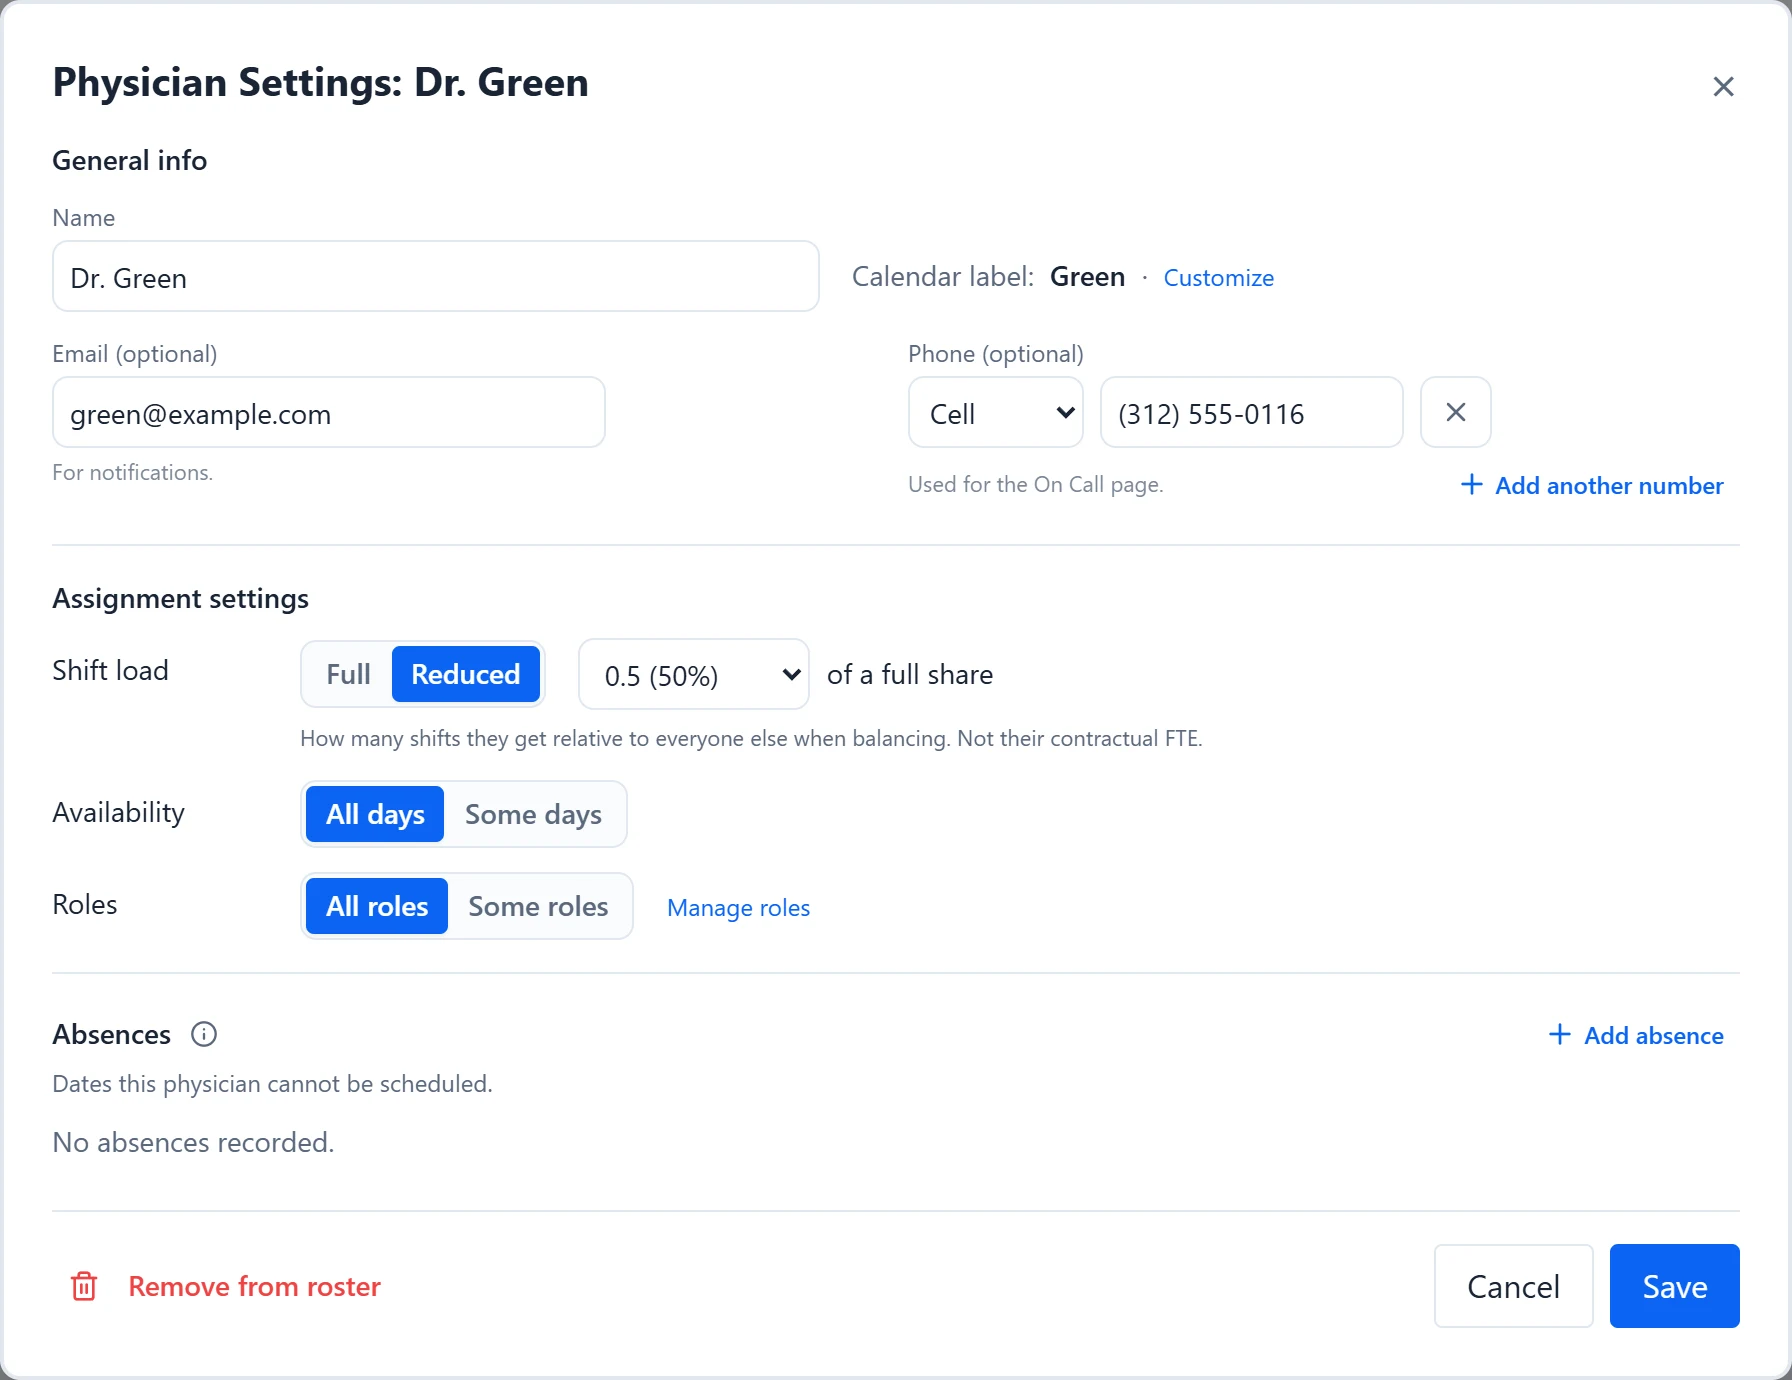
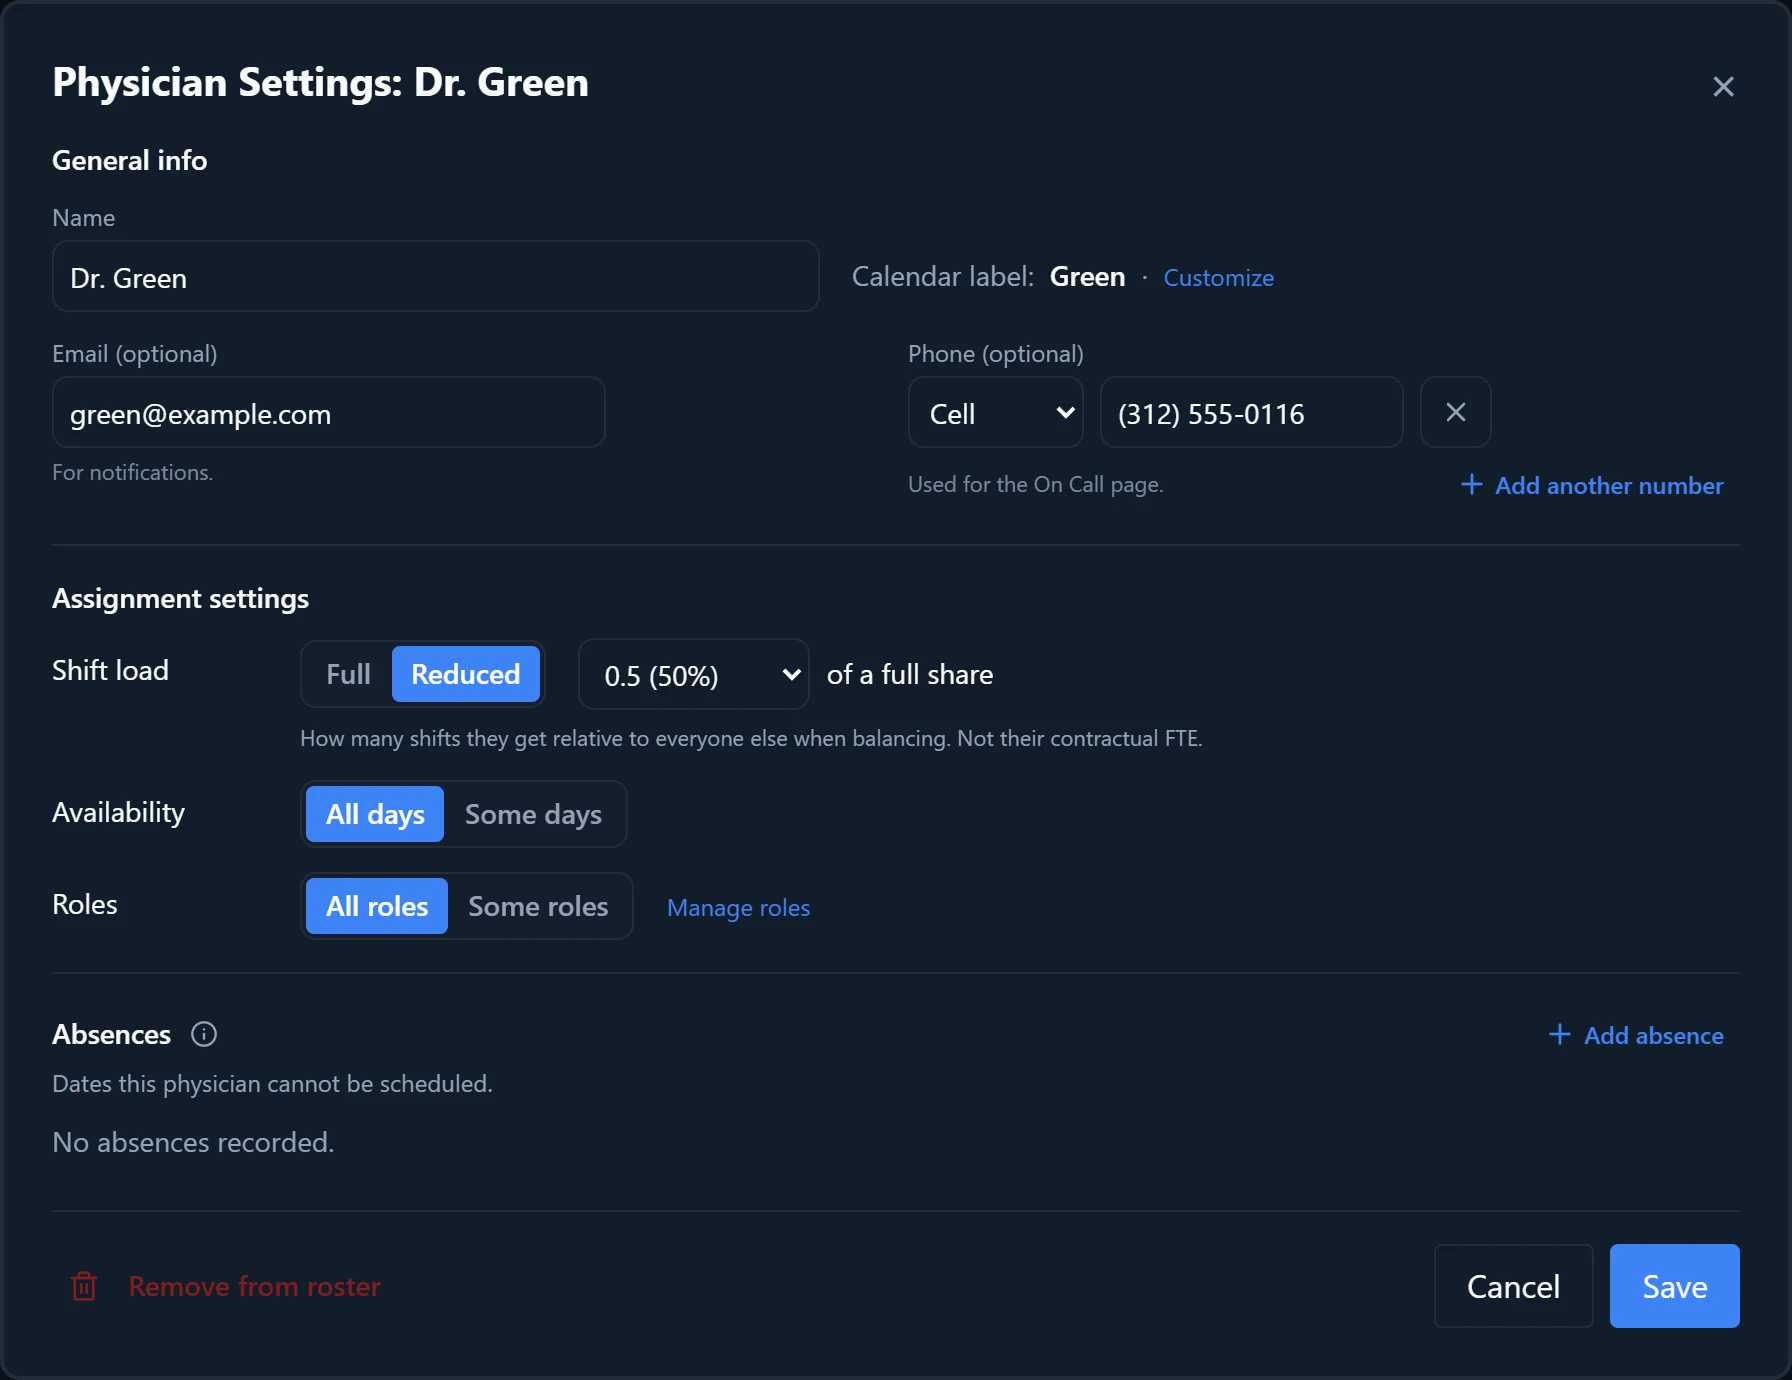
Physician Settings holds everything about one physician: the name shown on the calendar, how much work they take, which days and roles they can cover, and when they are away. Generation reads these settings, so keep them current before you generate.
- Add a physician or correct a name.
- Give a part-time physician a lighter share of shifts.
- Keep a physician off certain weekdays, roles, or dates.
- Record a new hire or a departure partway through the schedule.
How to do it
- 1
Add a physician
Click “+” in the Physicians box in the sidebar, type the name, and press Enter or the check button. To add many at once, use “Paste a list” in Guided setup.
- 2
Open Physician Settings
Click the physician’s name in the sidebar. You can also open it from the Physicians list (the pencil, “Manage physicians”) or from a physician’s name in Absences.
- 3
Set the name and calendar label
Type the full name in “Name”, with a title or credentials if you like, such as “Dr. Sarah Adams” or “Sarah Adams, MD”. The calendar shows the “Calendar label”, which is the last name unless you choose “Customize”. A new name carries through to their existing assignments.
- 4
Add email and phone numbers
“Email (optional)” is used for notifications. Under “Phone (optional)”, pick Cell, Office, Pager, or Other (with your own label), enter the number, and use “Add another number” for more. Phone numbers are shown on the On Call page.
- 5
Set the shift load
“Shift load” starts at Full. Choose “Reduced” and pick a share from 0.9 down to 0.0, or “Other...” for an exact value such as 0.775. The setting controls how many shifts they get relative to everyone else when balancing, not their contractual FTE.
- 6
Limit days and roles
Under “Availability”, choose “Some days” and turn off the weekdays they never work. Under “Roles”, choose “Some roles” and tick the roles they can fill. “Manage roles” opens Coverage & Roles.
- 7
Put physicians in groups
Open the Physicians list with the pencil, choose “+ Group” to add one, then tick physicians and use “Move to”. Once groups exist, Physician Settings shows a “Group” menu for one physician at a time.
- 8
Record absences
Choose “Add absence” and pick a “Type”: Time off (PTO), CME, Personal / other, Leave of absence, Employment Starts, or Employment Ends. Set From and To, or use “Multi-select” for scattered days. For PTO, CME, and Personal / other, “Repeats annually” repeats the dates every year.
- 9
Save
Choose “Save”. The settings apply the next time you generate. Assignments already on the calendar do not change on their own.
Good to know
- The absence table’s “Target adjustment” column reads Prorated or None. Leave of absence, Employment Starts, and Employment Ends are Prorated: they lower the physician’s expected share. PTO, CME, and Personal / other block the dates, but the physician still owes their full share.
- For a new hire, choose Employment Starts and enter the “Start date”, their first working day. For a departure, choose Employment Ends and enter the “Last day” they work. To also clear their assignments after that date, use “End physician on date” in Bulk Edits.
- Absence dates can run past the schedule’s dates, but the “Days” column counts only the days inside it.
- “Remove from roster” asks first, then deletes the physician’s time off, availability, group, and role settings. Their existing assignments stay on the calendar. This cannot be undone.
- A practice can hold up to 15 physicians. At the limit the “+” button is unavailable.
- For example, for a physician who works half as many shifts and never works Mondays, set “Shift load” to Reduced at 0.5, choose “Some days” under “Availability”, and turn off Monday.