
Lock assignments and regenerate safely
Locked assignments survive generation and the “Clear Assignments” button. Lock what you have confirmed or already told physicians, then rebuild the rest when staffing, absences, or rules change.
- Keep confirmed assignments while rebuilding everything else.
- Update the schedule when a physician leaves.
- Fill empty slots without moving anyone.
How to do it
- 1
Lock single assignments
Open a day and select the lock button beside a role. Locked names show in yellow on the calendar and in the table.
- 2
Lock everything at once
“Lock All” above the calendar locks every assigned cell in the schedule. When cells are locked, the same button reads “Unlock All” and removes every lock.
- 3
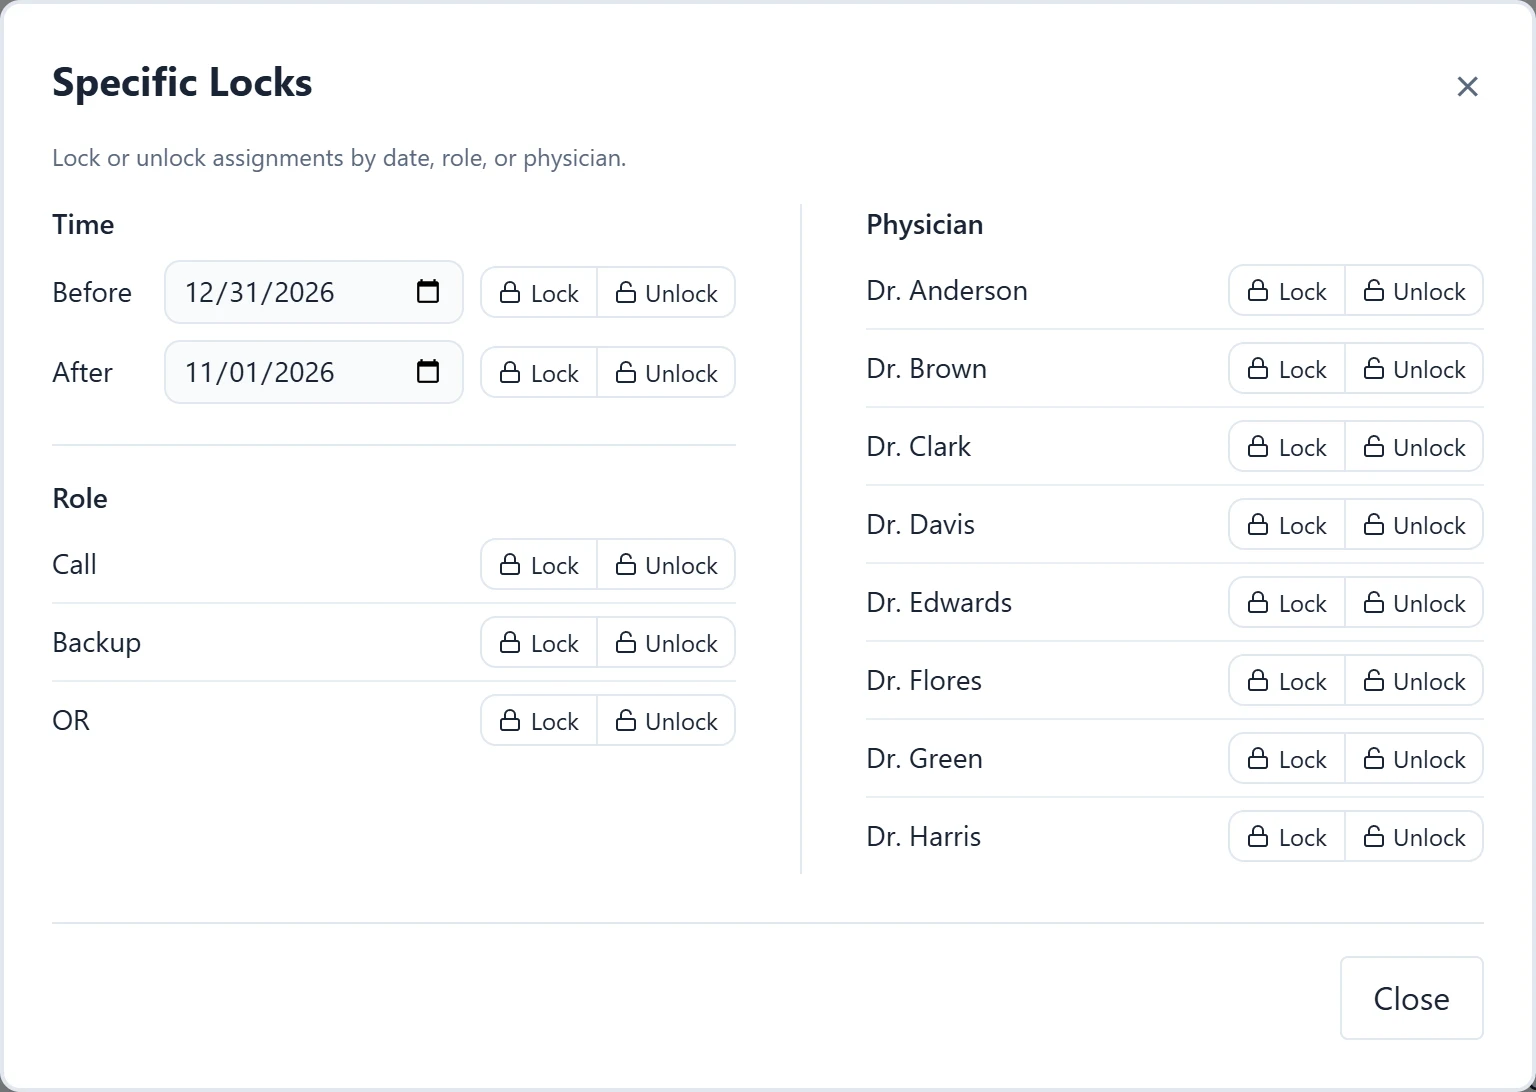
Lock by date, role, or physician
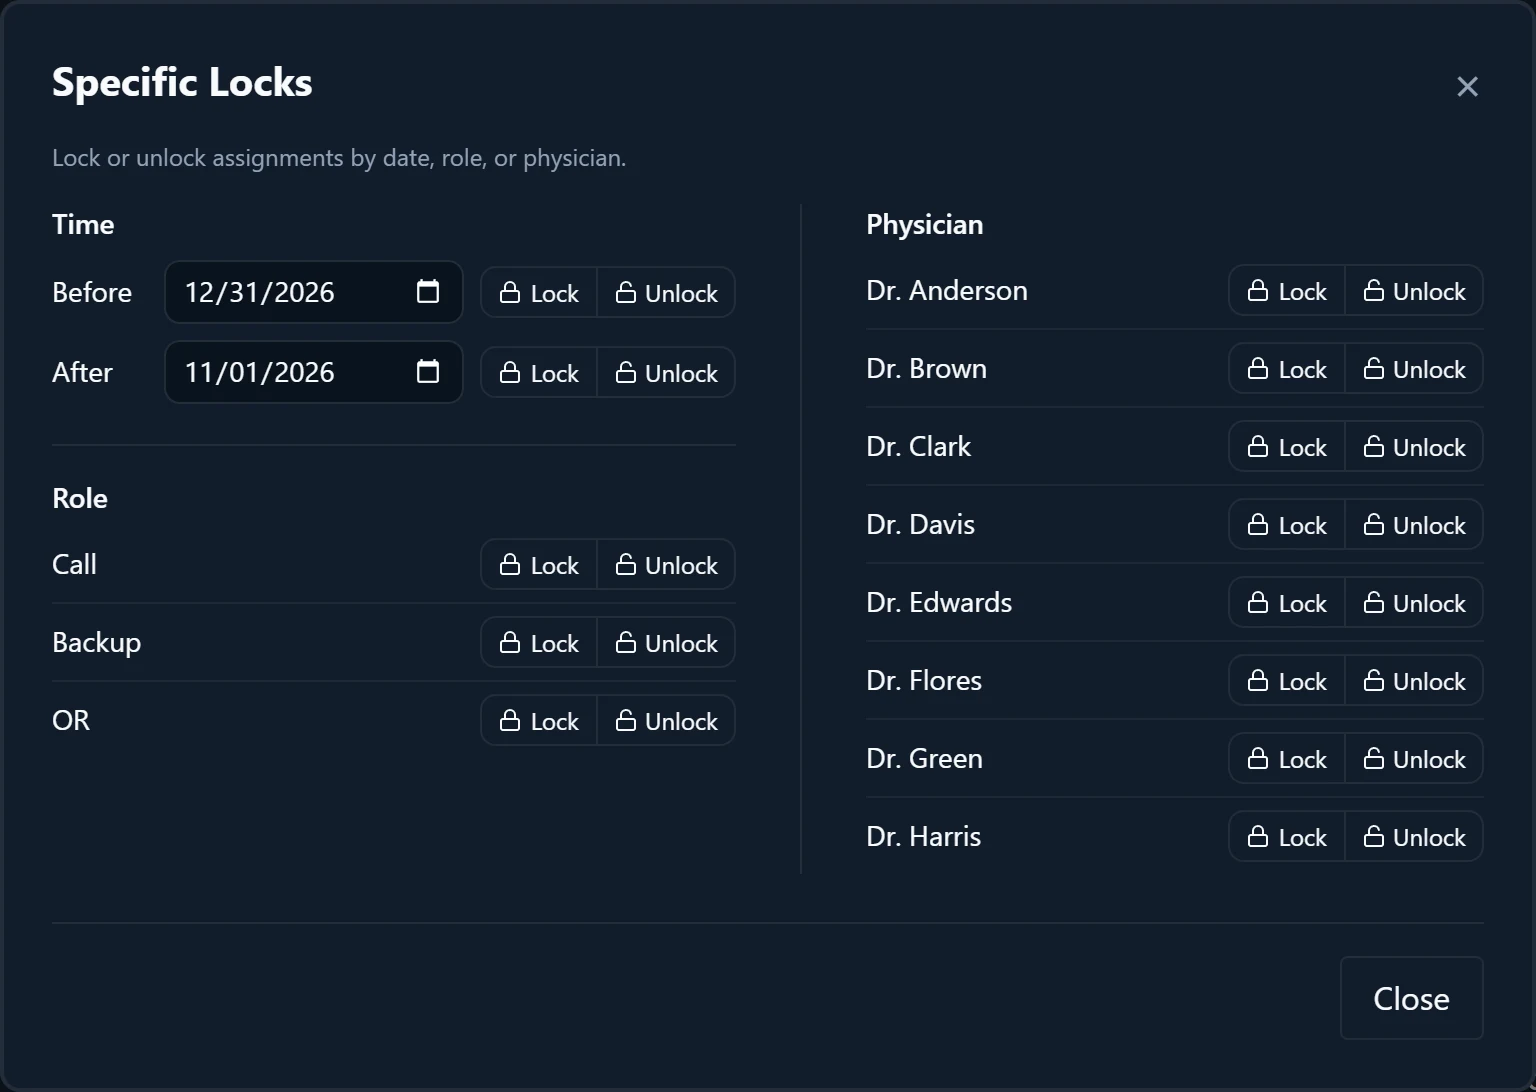
Open “Specific Locks” under Refinements. Under “Time”, lock or unlock every assignment “Before” or “After” a date; the date itself is not included. Under “Role” and “Physician”, each row has Lock and Unlock. These work within the schedule’s date range.
- 4
Make the change
Update absences, physician settings, roles, or patterns so the rules match the new situation.
- 5
Clear only what must be rebuilt
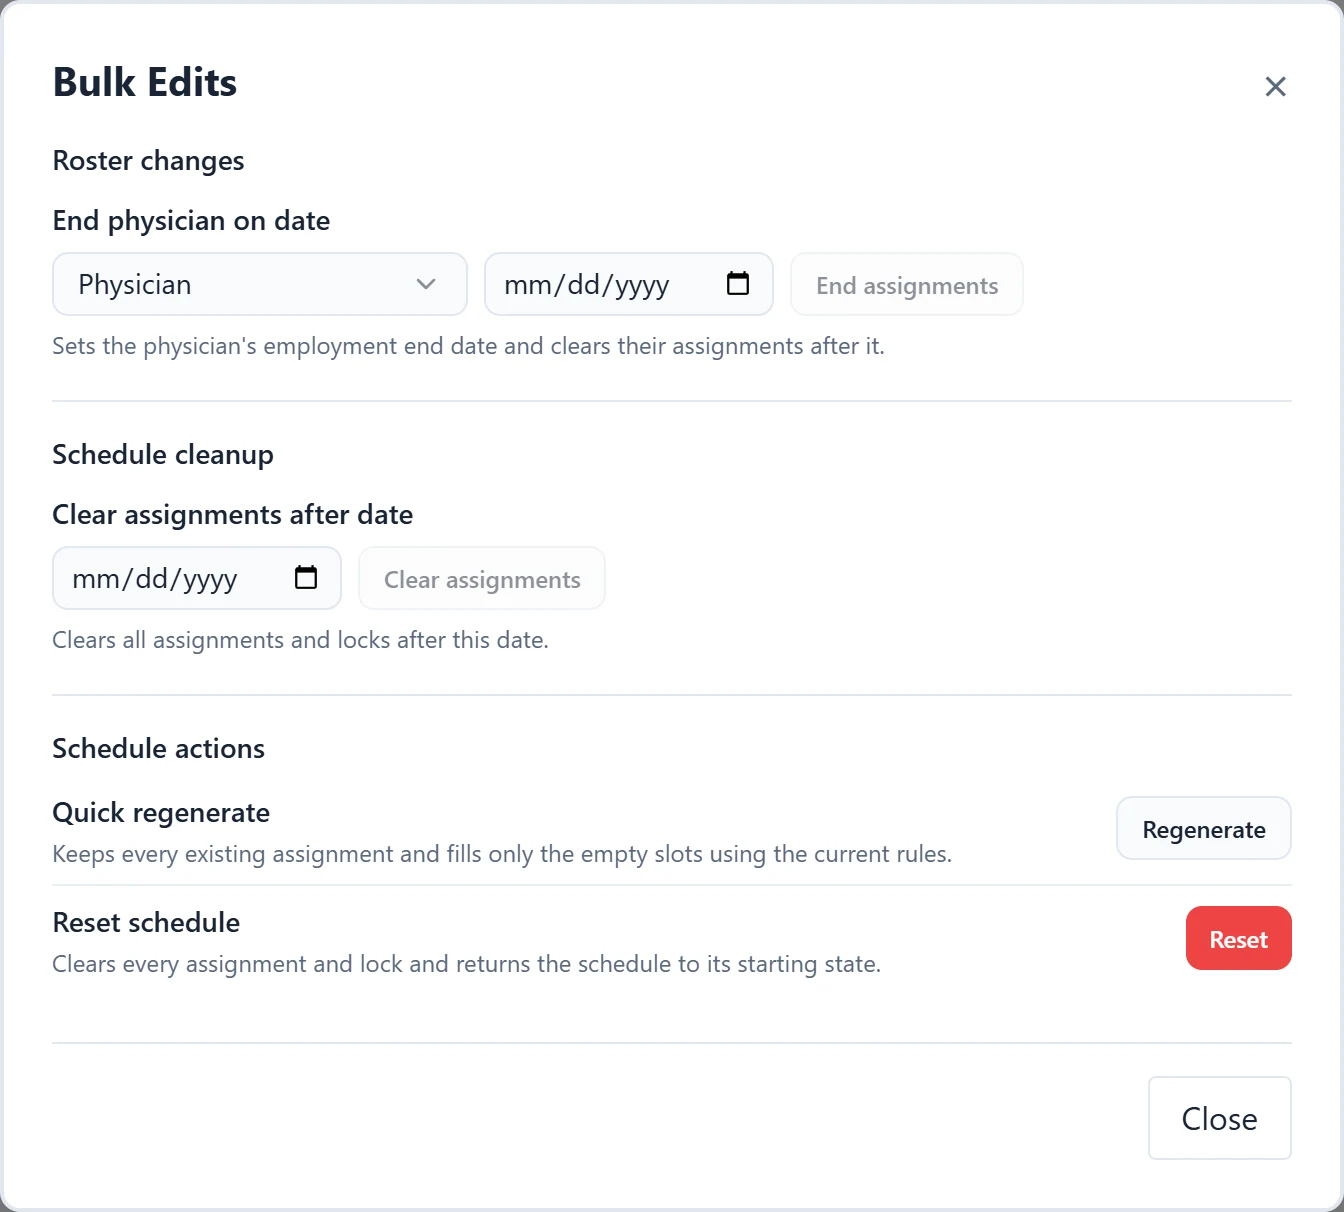
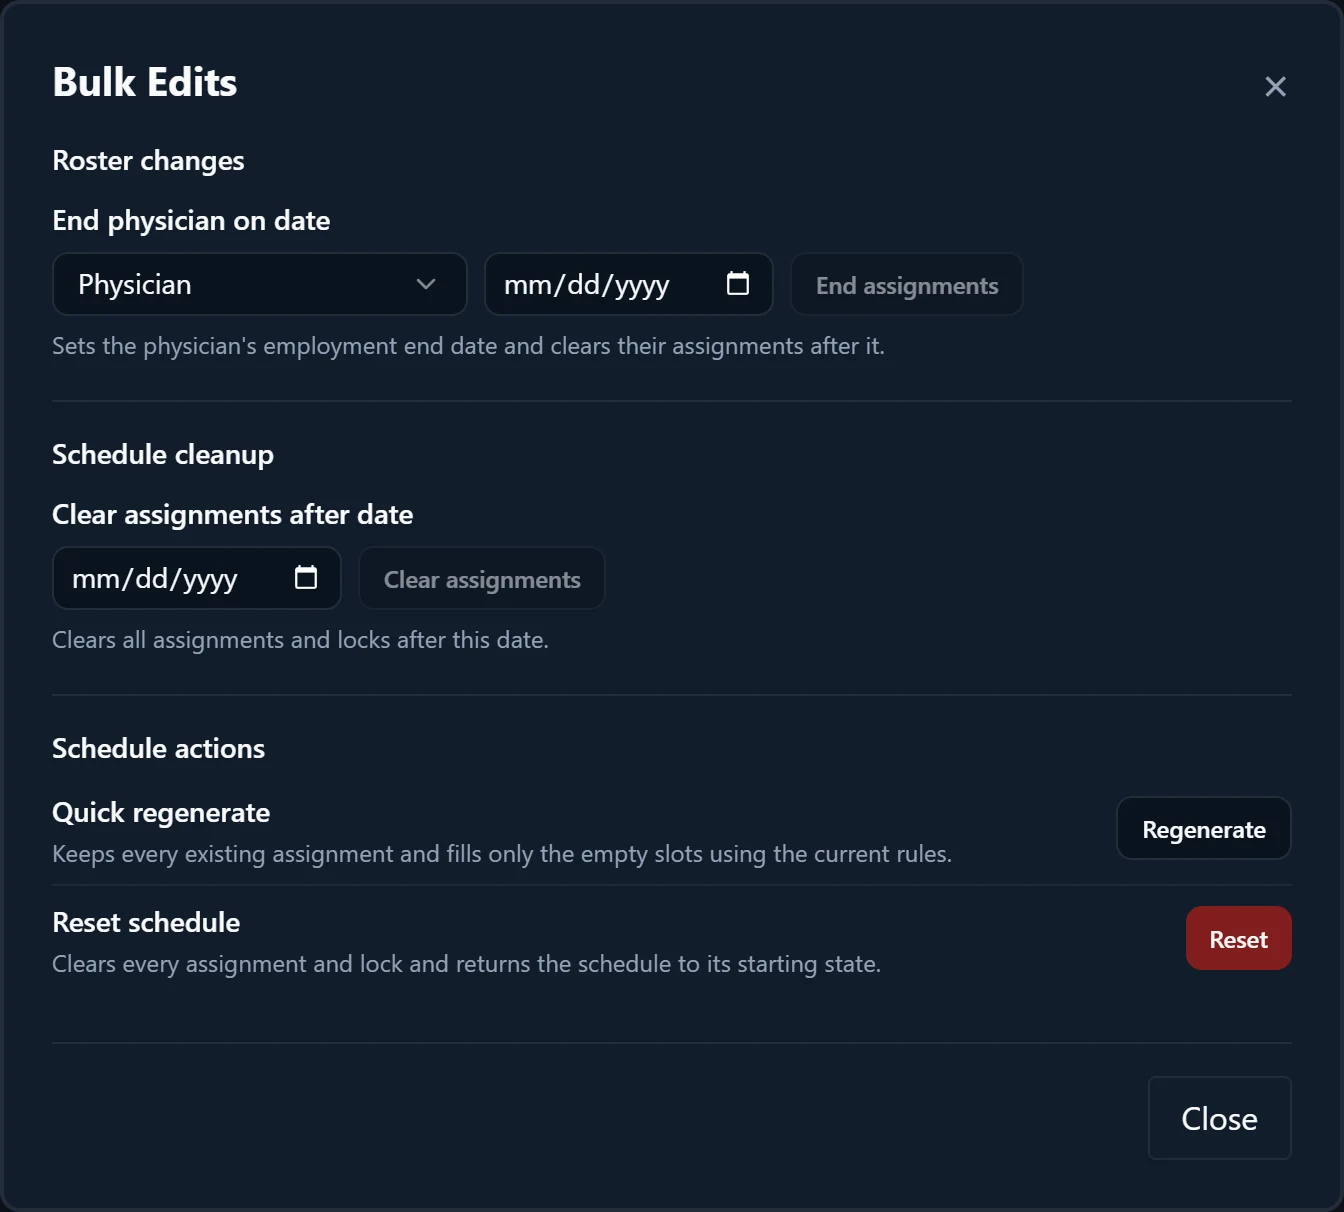
“Clear Assignments” above the calendar asks first, then removes unlocked assignments in the schedule range; locked cells and days outside the range stay. In “Bulk Edits”, “Clear assignments after date” empties every day after the chosen date, locks and day notes included, as soon as you select “Clear assignments”.
- 6
Regenerate
“Generate” replaces every unlocked assignment in the range you choose and keeps locked ones. “Quick regenerate” in “Bulk Edits” keeps every existing assignment and fills only the empty slots using the current rules; select “Regenerate” to run it.
- 7
Review and publish
Check the summary and Shift Count, save, then publish the update from “Publish & Log”.
Good to know
- For example, Dr. Lee’s last day is 3/14. In “Bulk Edits”, under “End physician on date”, pick Dr. Lee, enter 3/14, select “End assignments”, and confirm. This records 3/14 as Dr. Lee’s employment end date, clears their assignments and locks after it, and keeps everything on or before 3/14. Then run “Quick regenerate” to fill the open slots without moving anyone else, and check Count to see how the extra shifts were shared.
- “Quick regenerate” does not open a new summary. The “Summary” button still shows the last full generation, and its tooltip adds “(edited since)”.
- “Reset schedule” in “Bulk Edits” clears every assignment and every lock in the whole schedule after you confirm “Reset the whole schedule?”.
- Clearing and resetting cannot be undone. Save first if you may need the current state; saved versions are under Load > “Version history…”.
- A physician set by name on a holiday in Holidays is locked on the calendar automatically.