
View a shared schedule
Your scheduler can send a link that opens the call schedule in any browser, with no account or password. The page is read only: you can look, filter, count, print, and send requests, but you cannot change assignments. It always shows the schedule as your scheduler last saved it.
- See only your own shifts.
- Print or export the schedule.
- Work out why a schedule link says it is no longer active.
How to do it
- 1
Open the link
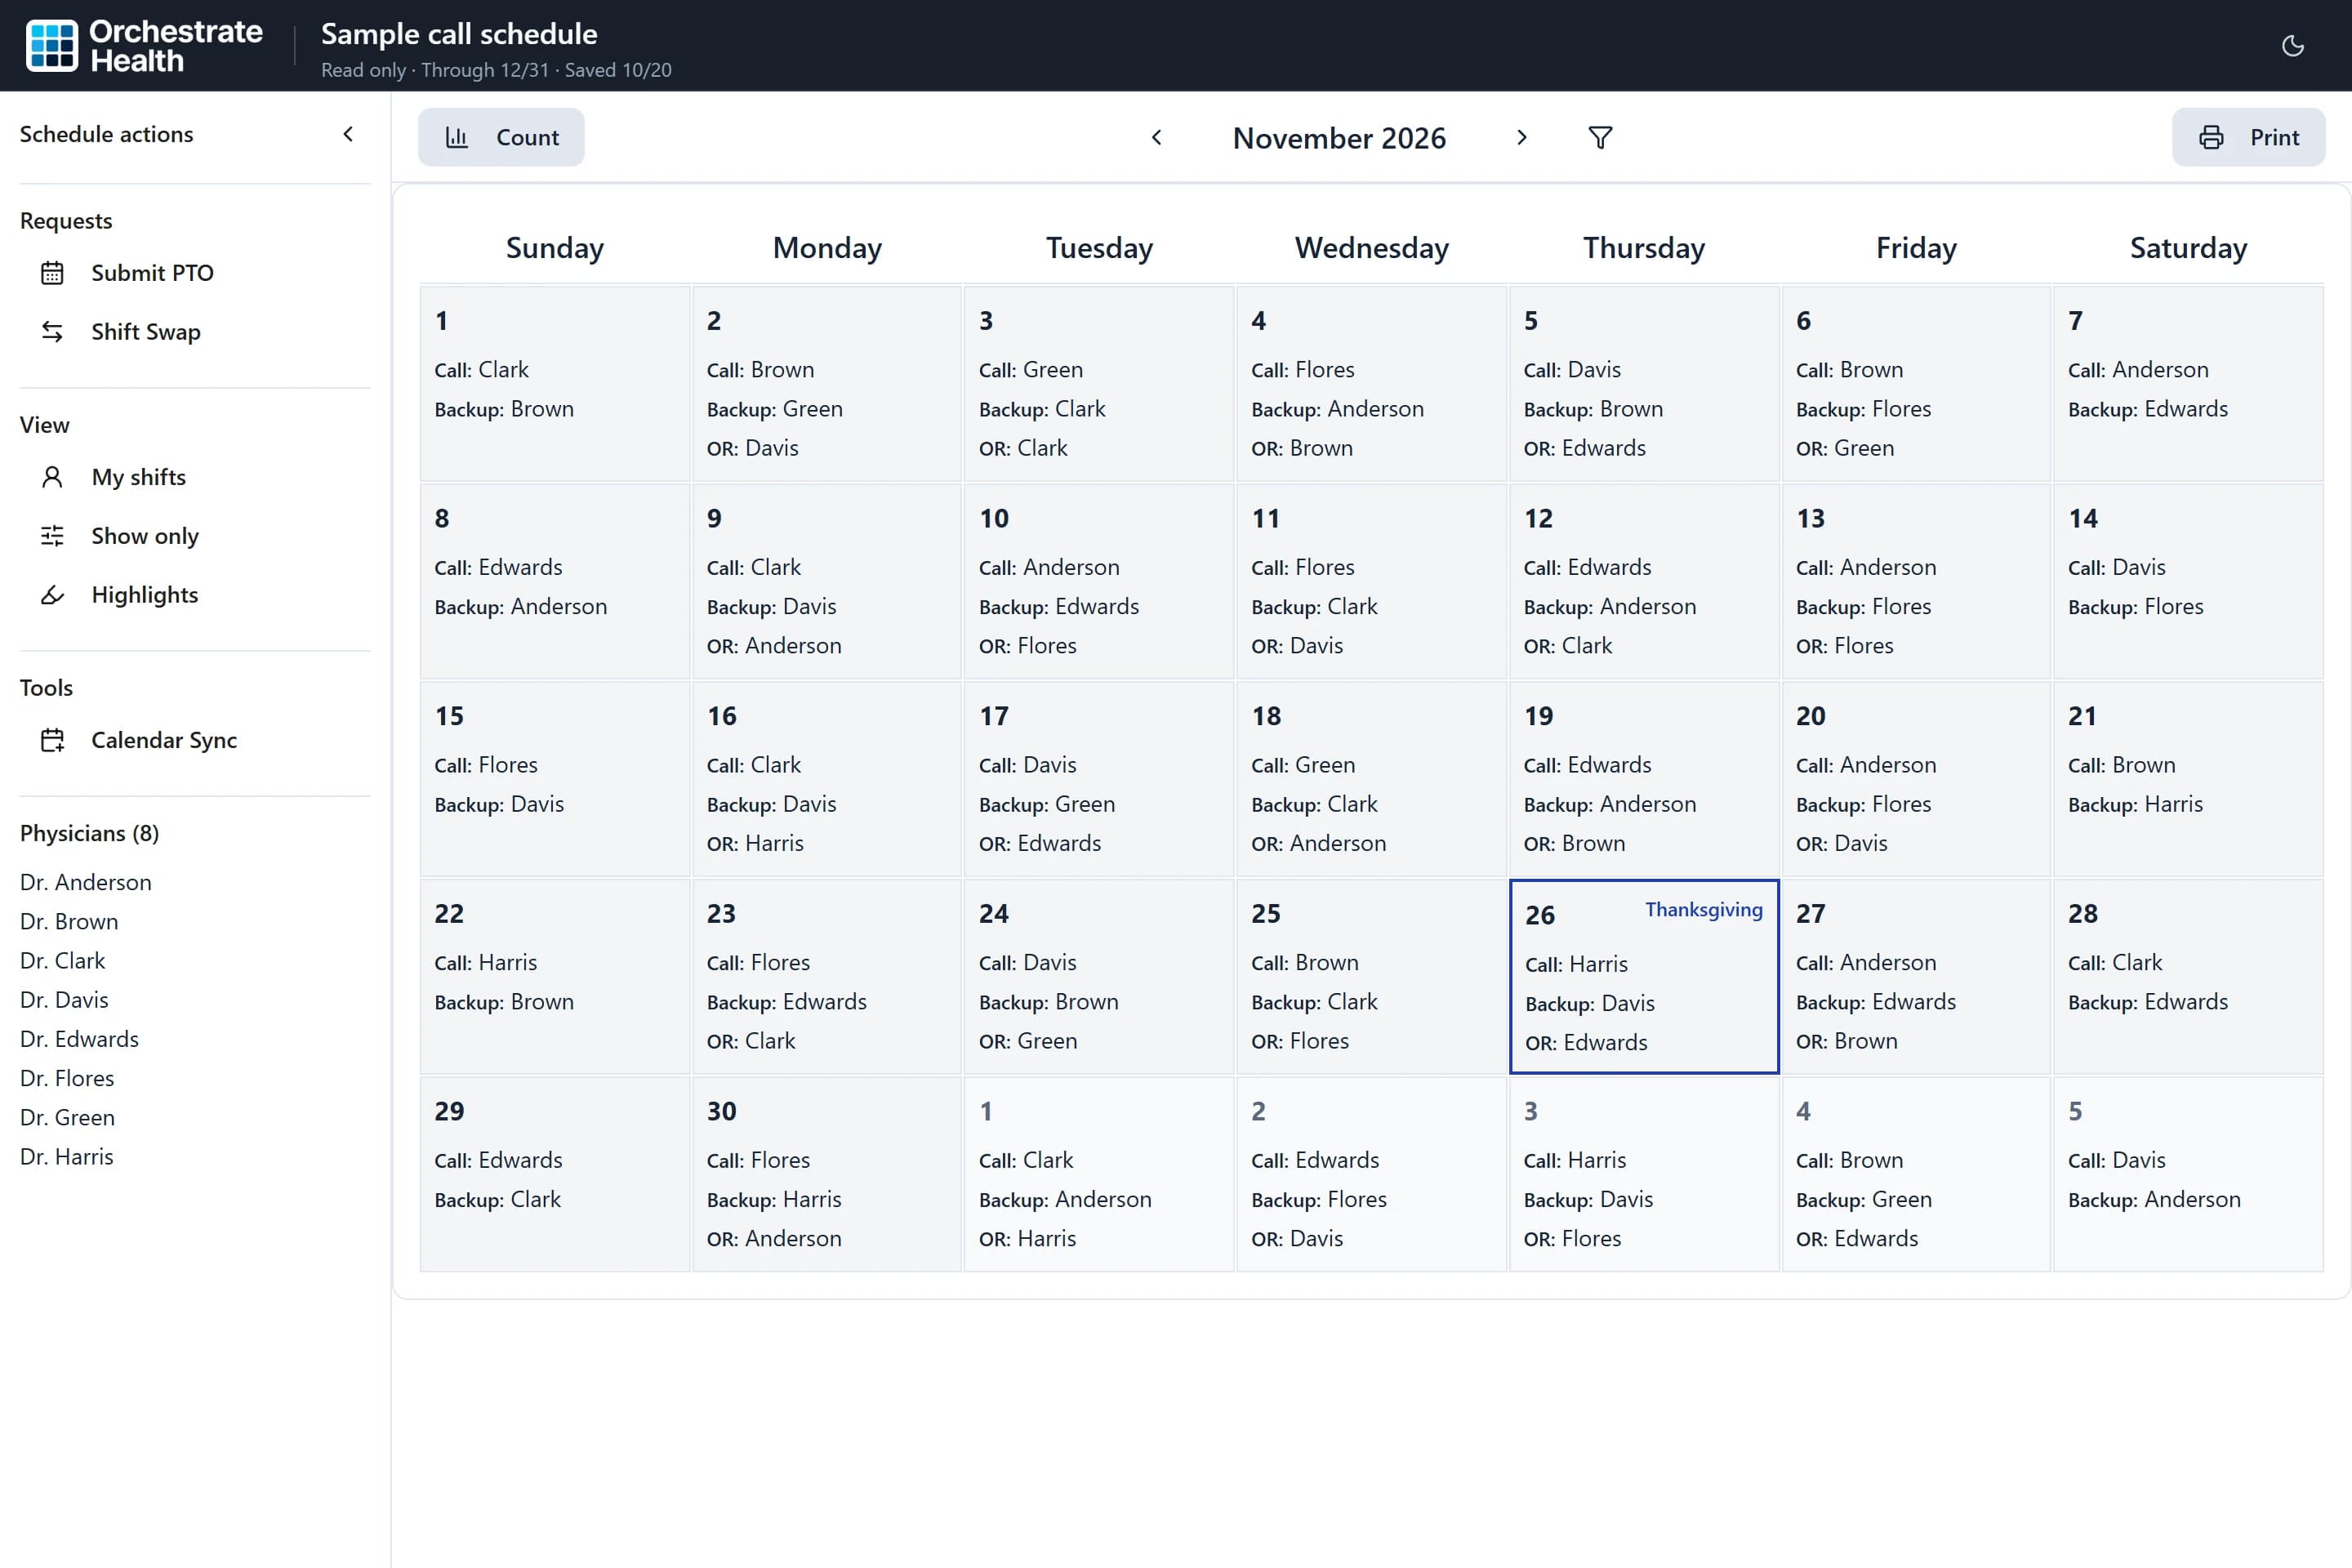
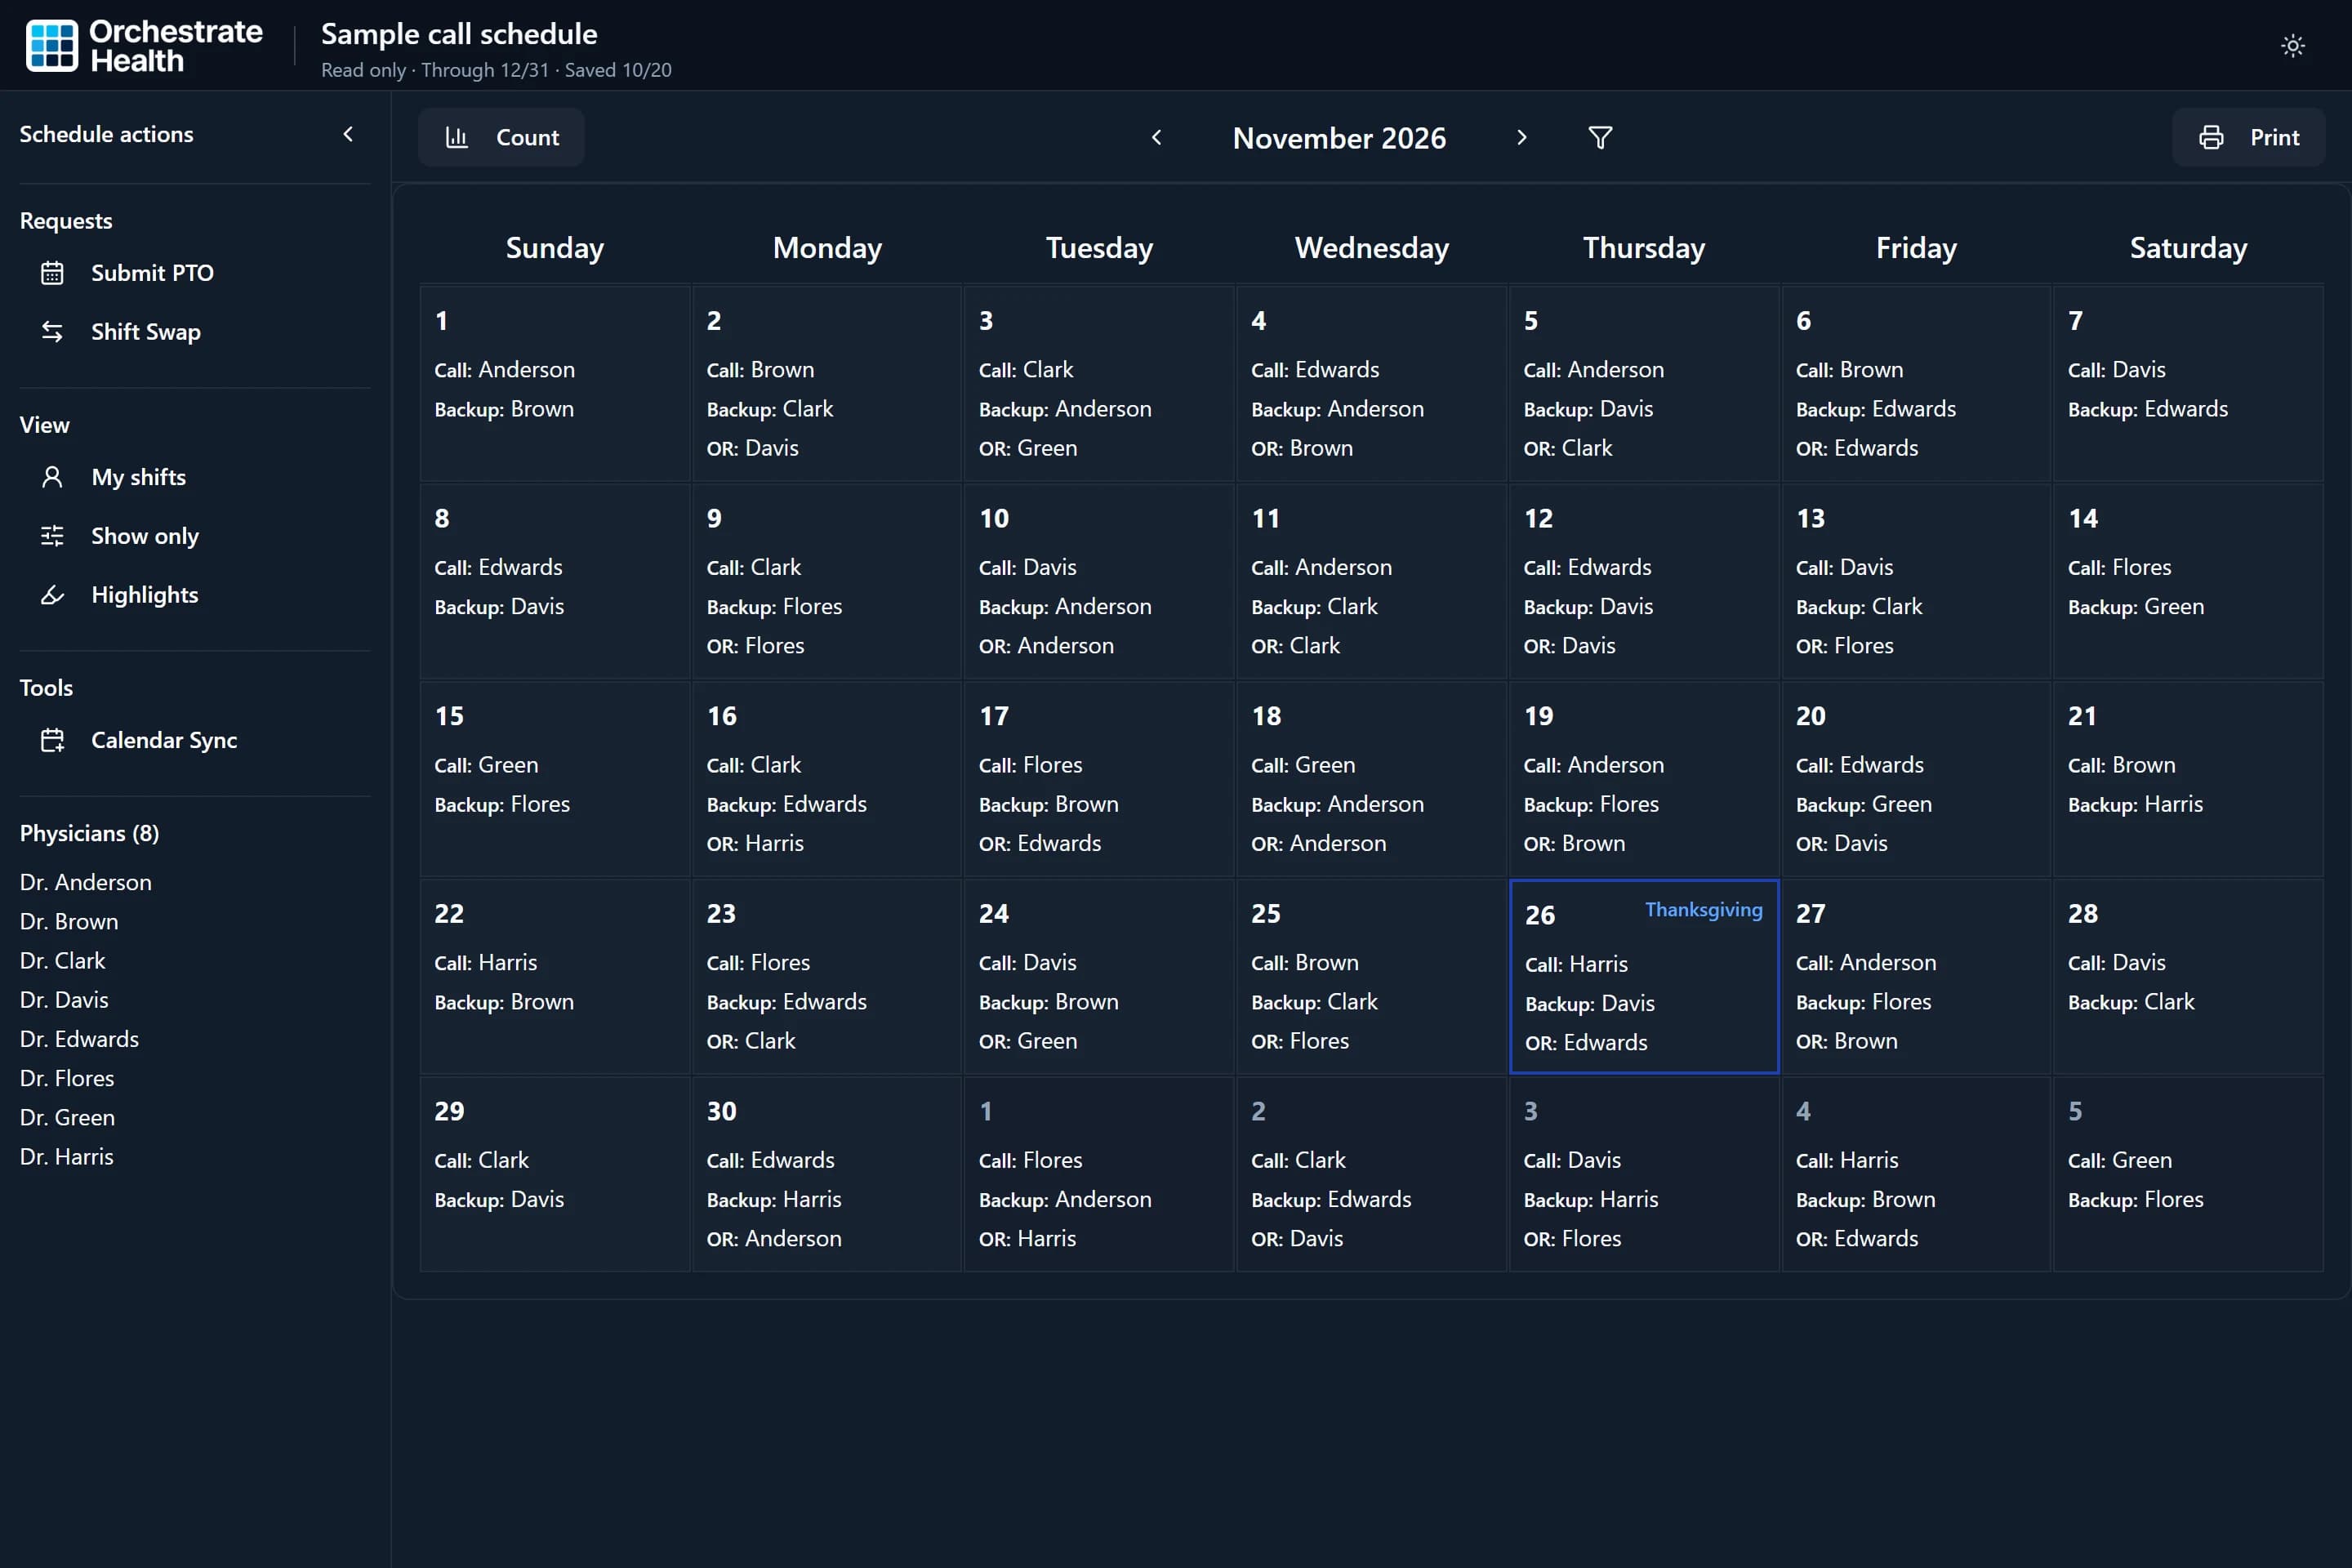
The calendar opens on the schedule’s first month. Use the arrows beside the month name to move between months, or click the month name to jump to the current month. On a computer the header also shows “Read only”, the last date the schedule covers, and when it was last saved.
- 2
Find the actions
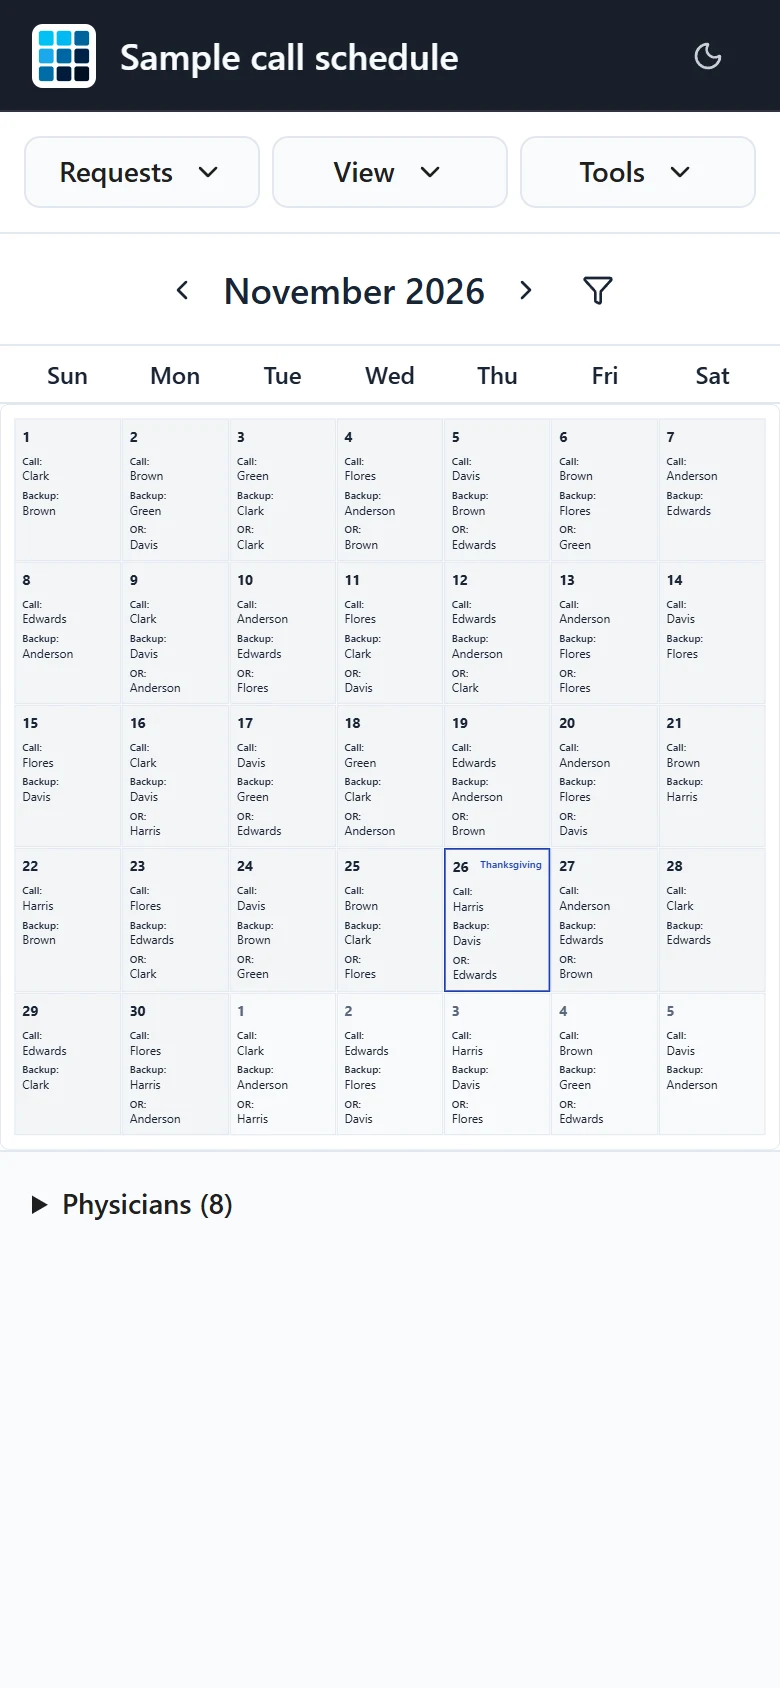
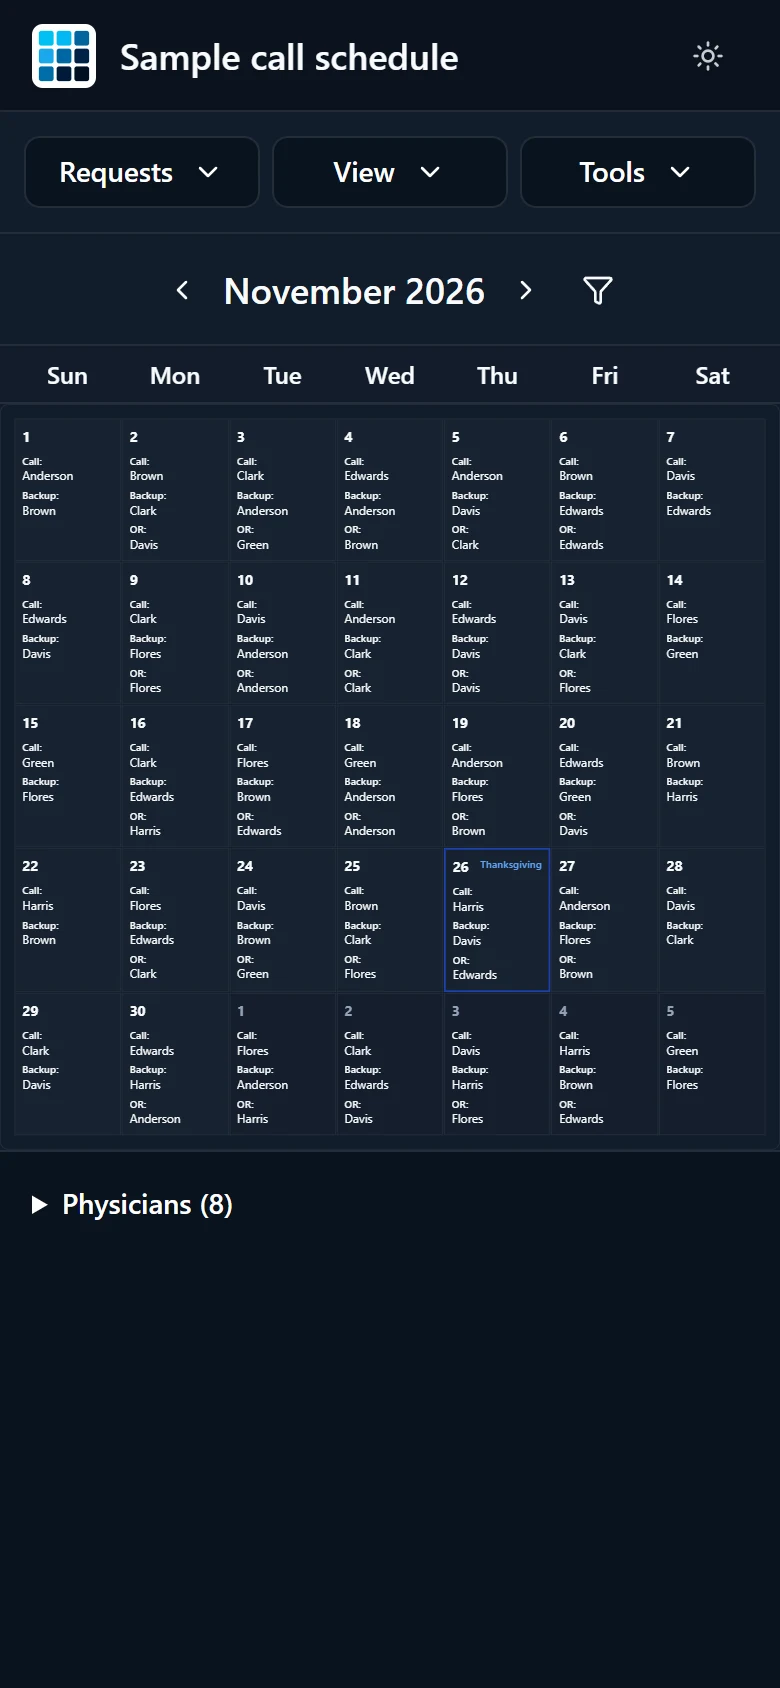
On a computer, the “Schedule actions” sidebar groups everything under Requests, View, and Tools, with Count and Print as buttons above the calendar. On a phone, the same actions are in the Requests, View, and Tools menus at the top, and Count and “Print / Export” are in Tools. If your practice turned on its On Call page, an “On Call” button appears there too.
- 3
Show your own shifts
Under View, choose “My shifts” and pick your name. The calendar then shows only your assignments. Your choice is remembered on this device; choose “Change physician” to pick someone else.
- 4
Narrow the calendar
Choose “Show only” under View, or the funnel icon next to the month arrows. Tick what you want under “Roles to include” and “Physicians to include”, then choose “Apply”. “Clear filters” shows everyone again. Filters are remembered for this link on this device.
- 5
Color assignments
“Highlights” colors assignments by physician and role so a colleague or a role stands out. It changes only what you see, and highlights clear when you reload the page.
- 6
Count shifts
“Count” opens the “Shift Count” table, with each physician’s shifts for each role. It always counts the full schedule, whatever you have filtered.
- 7
Print or export
The Print menu offers “Print Calendar”, “Print Table”, “Print Absences”, “Print Report”, and “Export Individual Schedule (Excel)”. Printouts follow your “Show only” filters. The Excel export asks for a physician, then “Download Excel”.
- 8
Add it to your home screen
On your first visit a banner offers “Add this schedule to your home screen.” with an install button and “Not now”. You can install later from the button below the Physicians list, labeled “Install app”, or “Add to Home Screen” on an iPhone, where it shows the steps using Safari’s Share button.
Good to know
- The page refreshes itself when you return to the tab and every 15 minutes while it is open. If a refresh fails you see “Could not refresh. The schedule shown may be out of date.” and the last copy stays on screen.
- You see changes only after your scheduler saves the schedule. Edits they have not saved yet do not appear.
- “This schedule link is no longer active” means the link was replaced or removed, or the schedule was deleted. Your practice most likely has a new link, so ask whoever sent it. “This schedule could not be loaded” is a temporary problem; choose “Try again”.
- On a phone the calendar starts zoomed out to fit the whole month. Pinch to zoom in. The full physician list is under “Physicians” below the calendar.
- The install button is hidden once the schedule is installed or when your browser cannot install it. If the link opened inside another app, such as an email app, open it in Safari or Chrome first.