
Request a shift swap
The Shift Swap wizard finds colleagues who can take your shifts without breaking the schedule’s rules, and can suggest one of their shifts for you to take in return. It sends a proposal to your scheduler, and the schedule does not change until they apply it. Check with your colleague before you submit.
- Find cover for a shift you cannot work.
- Trade a shift for one of a colleague’s.
- Clear several days at once, such as a week away.
- The shared schedule link from your practice.
How to do it
- 1
Open Shift Swap
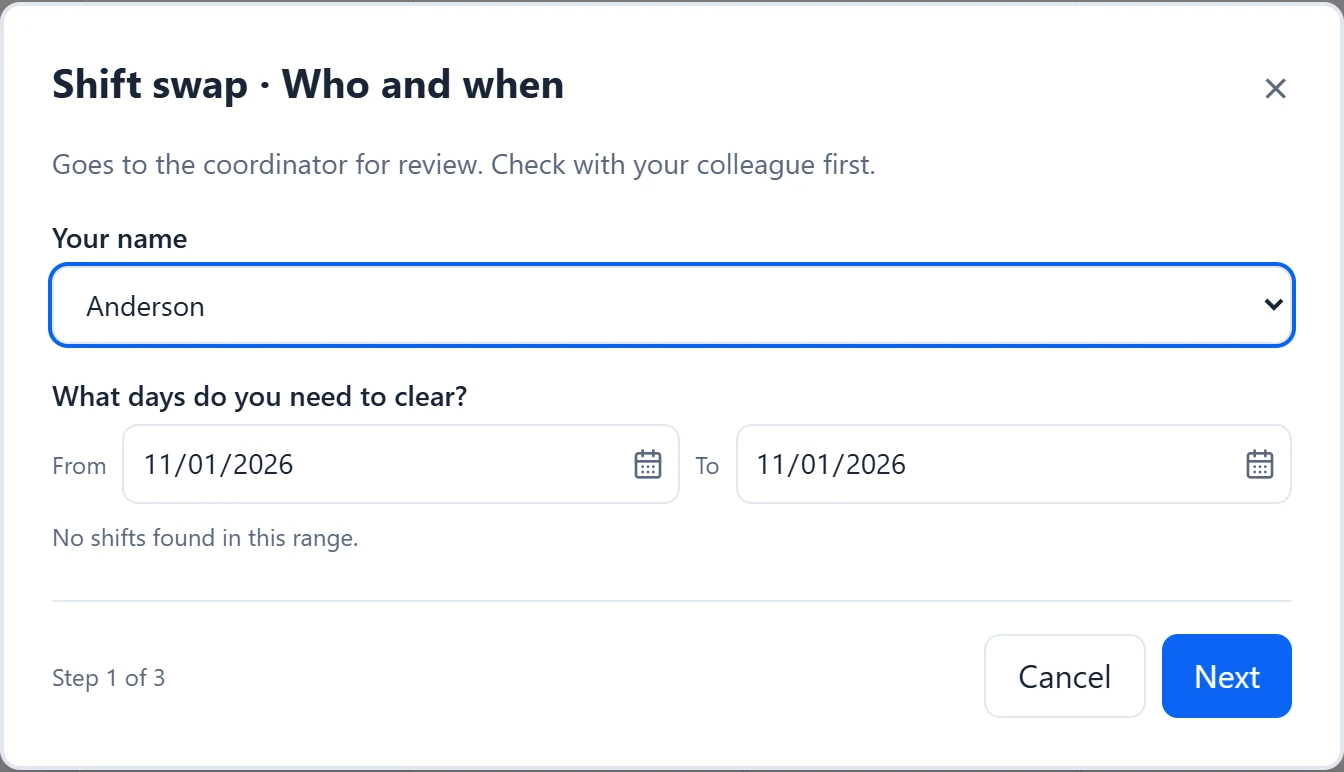
Choose “Shift Swap” under Requests, in the sidebar on a computer or the Requests menu on a phone. The dialog title shows the three steps: “Who and when”, “Pick coverage & payback”, and “Review & submit”.
- 2
Choose your name and days
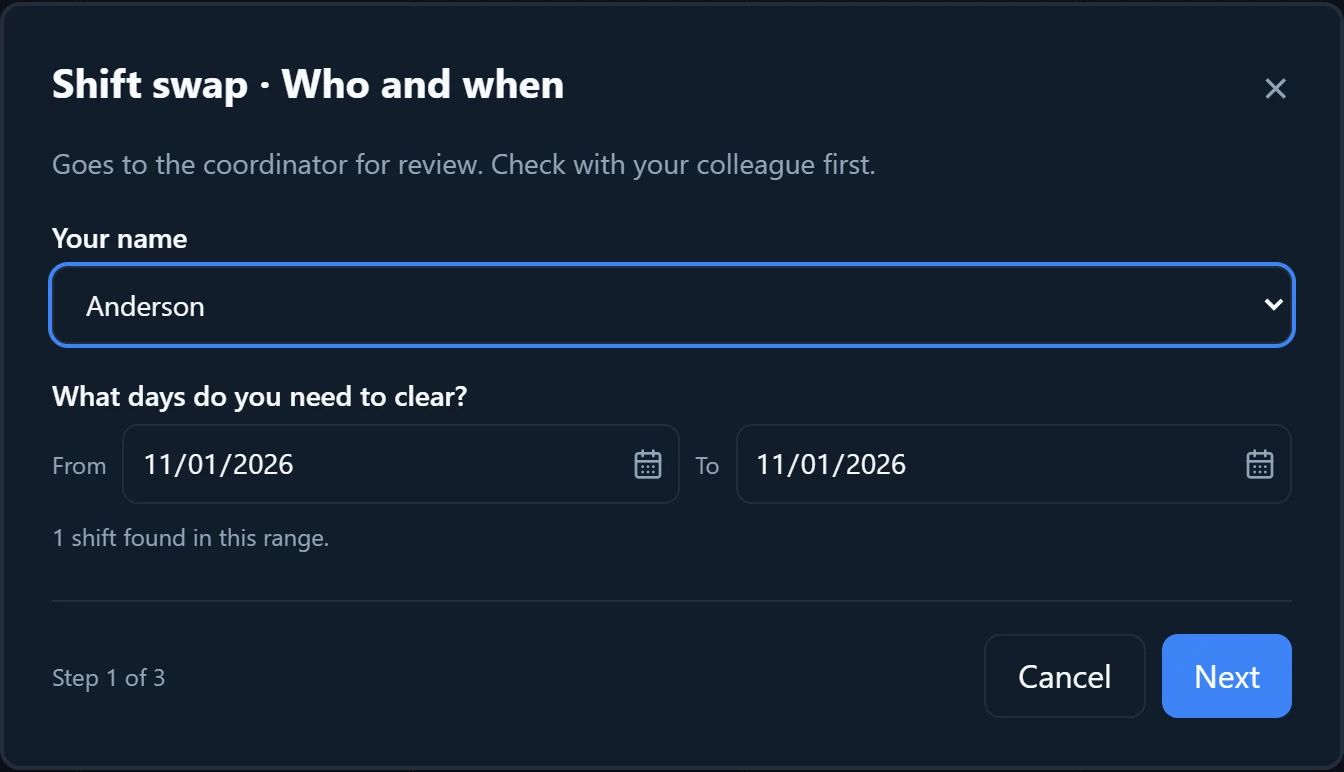
“Your name” starts on the first physician in the list, so pick yours. Under “What days do you need to clear?” set From and To; both start on today, or the nearest date in the schedule. The dialog shows how many of your shifts it found in that range. Choose “Next”.
- 3
Pick who covers each shift
Your shifts come up one at a time. The list shows colleagues who work that role and have no conflict. Pick a trade-back date, where they give you one of their shifts, or “No trade-back”. “Best match” marks the top date when there are several.
- 4
Look at more options
“Show N more” adds colleagues with conflicts, labeled with a count such as “2 conflicts”, and colleagues who have not worked that role on this schedule. Under “3-person trades”, a colleague takes your shift, a second colleague gives you one of theirs, and the first colleague takes one of the second’s, so everyone gives one shift and gets one.
- 5
Widen the search
The line under the list says where trade-backs were searched: nearby dates of the same weekday type, weekday for weekday and weekend for weekend. “Search further” looks across the whole schedule. Tick “Include other weekday types” to also allow a weekend for a weekday; those dates are tagged “Other weekday type”.
- 6
Select or skip
Choose “Select” to lock in your pick and move to the next shift, or “Skip this shift” to keep it. “Back” reopens the previous shift. When every shift is decided, choose “Next”. At least one shift must be selected.
- 7
Review and submit
The review lists every move, such as “3/14 [Call]: your name → colleague”, with a warning for any rule a move would break. Add a “Note for the coordinator (optional)”, then choose “Submit swap request”.
Good to know
- After you submit, “Swap request submitted.” confirms it. Your scheduler and anyone they collaborate with on the schedule get an email, and so does every physician in the swap who has an email address on file. Those physicians get another email when it is approved or rejected.
- Your scheduler approves or rejects the whole request together, never part of it.
- Nothing changes until your scheduler applies the swap. You see it on the shared link once they save the schedule.
- Trade-back dates are never inside the days you are clearing.
- One request can hold up to 40 shift moves. Each shift you hand off is one move, a trade-back adds one, and a 3-person trade adds two.
- For example, to clear 3/14 through 3/16, set that range. If you hold Call on 3/14 and Backup on 3/16, you decide each in turn. Picking a colleague with a trade-back for 3/14 and skipping 3/16 sends two moves: your Call to them, and their trade-back shift to you.