
Print, export, and import schedules
Print / Export turns the schedule into a PDF or an Excel workbook for a date range, the roles and physicians you pick, and optional reports such as counts and absences. Download Backup saves a complete workbook you can keep outside the app and import again later.
- Get a printed or PDF call schedule for a month or a quarter.
- Get a count report or individual schedules to hand out.
- Get a copy of the whole schedule outside the app.
How to do it
- 1
Open Print / Export
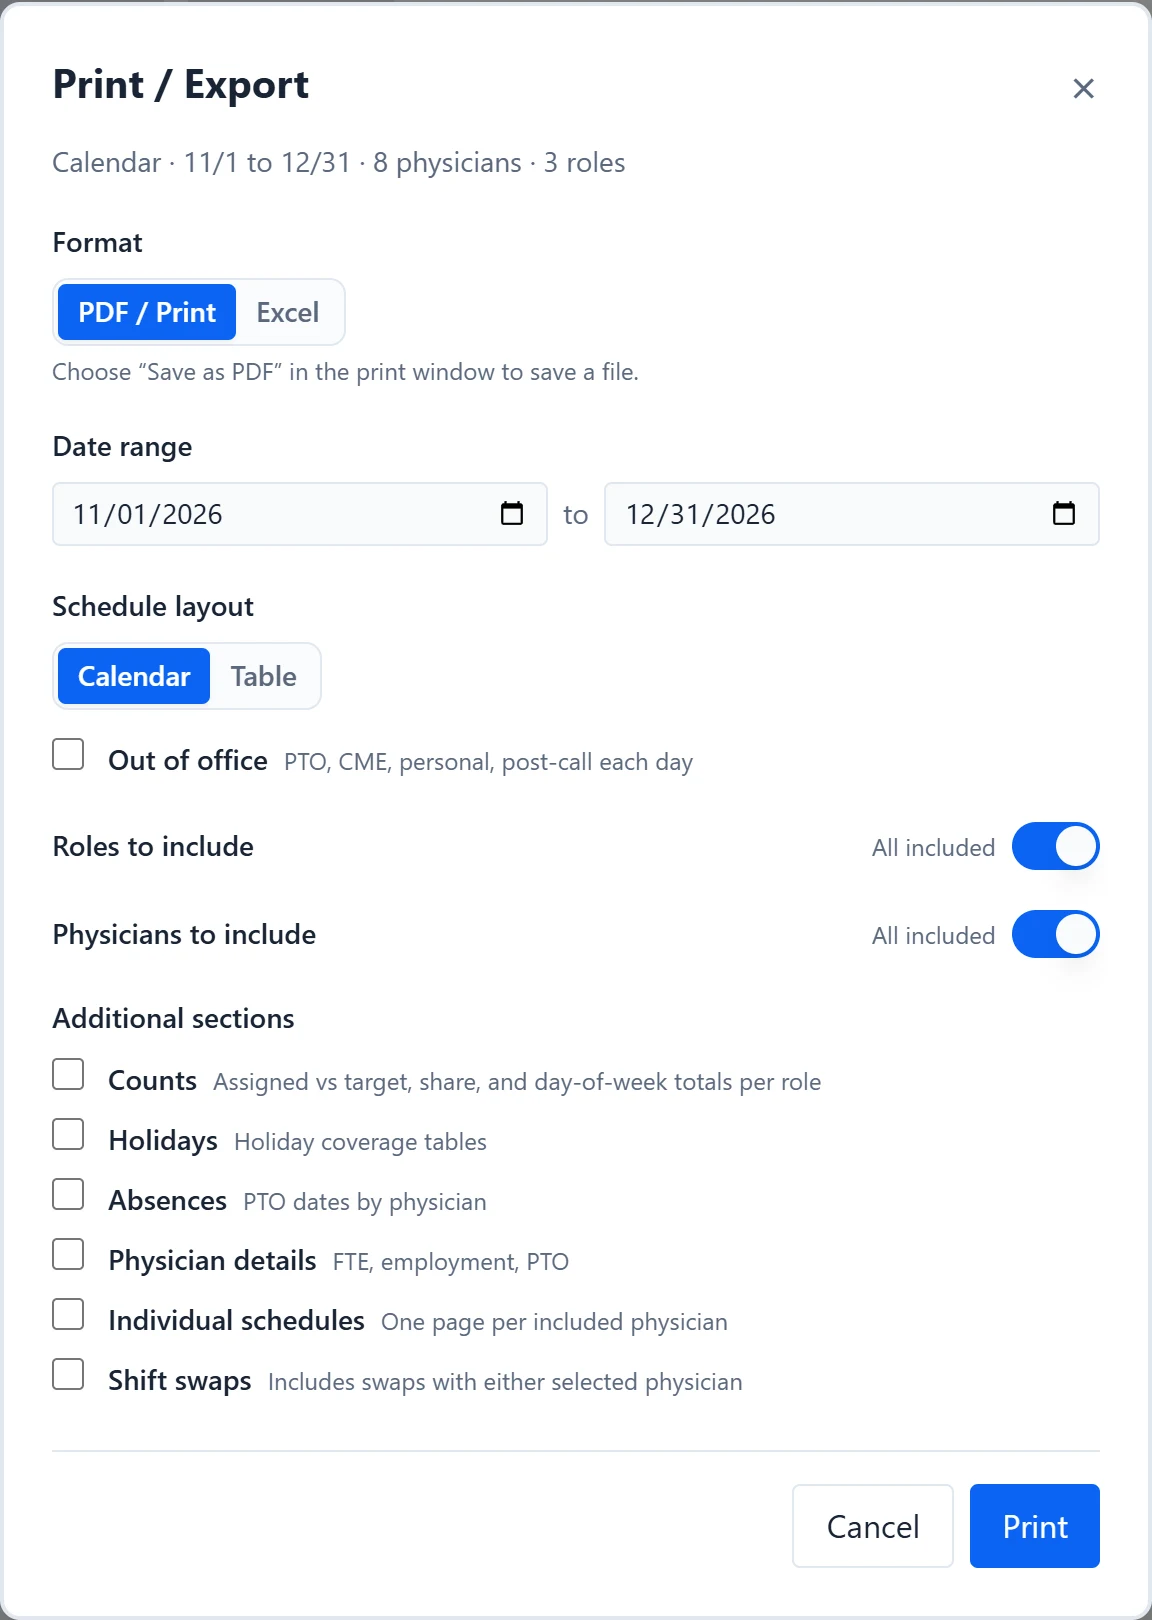
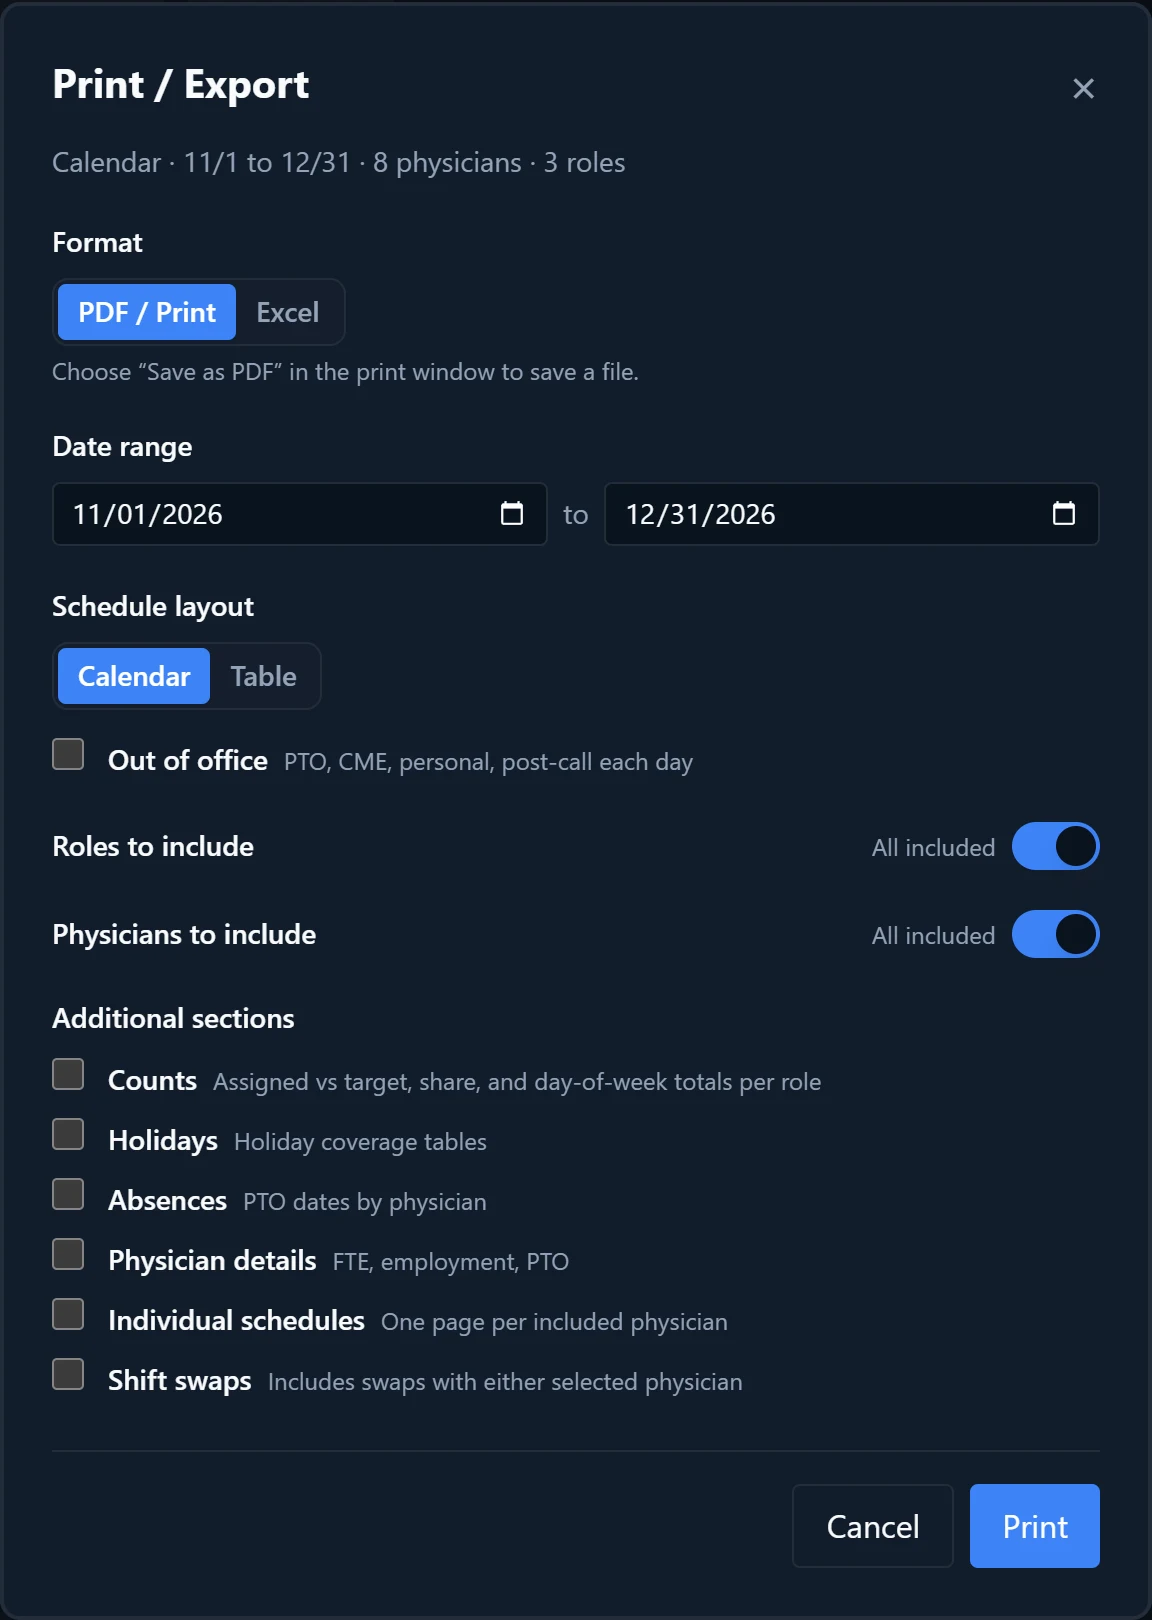
Open Print in the sidebar and choose “Print / Export…”, or press Ctrl+P, or Cmd+P on a Mac. A summary line at the top shows the layout, dates, and how many physicians and roles are included.
- 2
Choose the format
Under Format, choose “PDF / Print” to open your browser’s print window, or “Excel” for an .xlsx workbook. To get a PDF file, choose “Save as PDF” in the print window.
- 3
Set the dates and layout
Under “Date range”, pick a start and end within the schedule’s dates. Under “Schedule layout”, choose Calendar or Table. Tick “Out of office” to list PTO, CME, personal, and post-call physicians each day, and “Clinic” to show who is in clinic.
- 4
Pick roles and physicians
“Roles to include” and “Physicians to include” each have an “All included” switch. Turn it off to tick only the roles or physicians you want.
- 5
Add report sections
Under “Additional sections”, tick any of Counts, Holidays, Absences, “Physician details”, “Individual schedules”, and “Shift swaps”. Absences can be grouped “By physician” or “By Month”. Counts has an extra option, “Include changes (Published → current)”, which marks shift-count changes in the counts table.
- 6
Print or export
Select “Print” or “Export Excel”. The dialog remembers your choices for next time, except the dates, which reset to the full schedule each time it opens.
- 7
Download a backup
Open Print and choose “Download Backup”. You get one Excel workbook with the schedule and everything needed to restore it: physicians, roles, rules, and settings.
- 8
Import a workbook
Open New and choose “Import from file…”, then pick an .xlsx or .xls file up to 10 MB. A Download Backup file replaces your current schedule, physicians, rules, and settings after you confirm. Any other workbook brings in assignments from its Schedule sheet only.
Good to know
- “Shift swaps” and “Include changes (Published → current)” need a saved, named schedule and show “Requires a saved schedule” until then. The change markers also need a published baseline to compare against.
- The Clinic option appears only when “Show clinic availability” is on in Coverage & Roles.
- In Excel, the Table layout exports as a single schedule-grid sheet.
- “Download Import Template” in the New menu downloads an empty workbook laid out week by week for the schedule’s dates, with a row for each role. Importing any workbook other than a backup brings in assignments only, not physicians or settings, so check the calendar afterwards.
- Importing does not save. Press Save afterwards to keep the result.