
Find your way around the scheduler
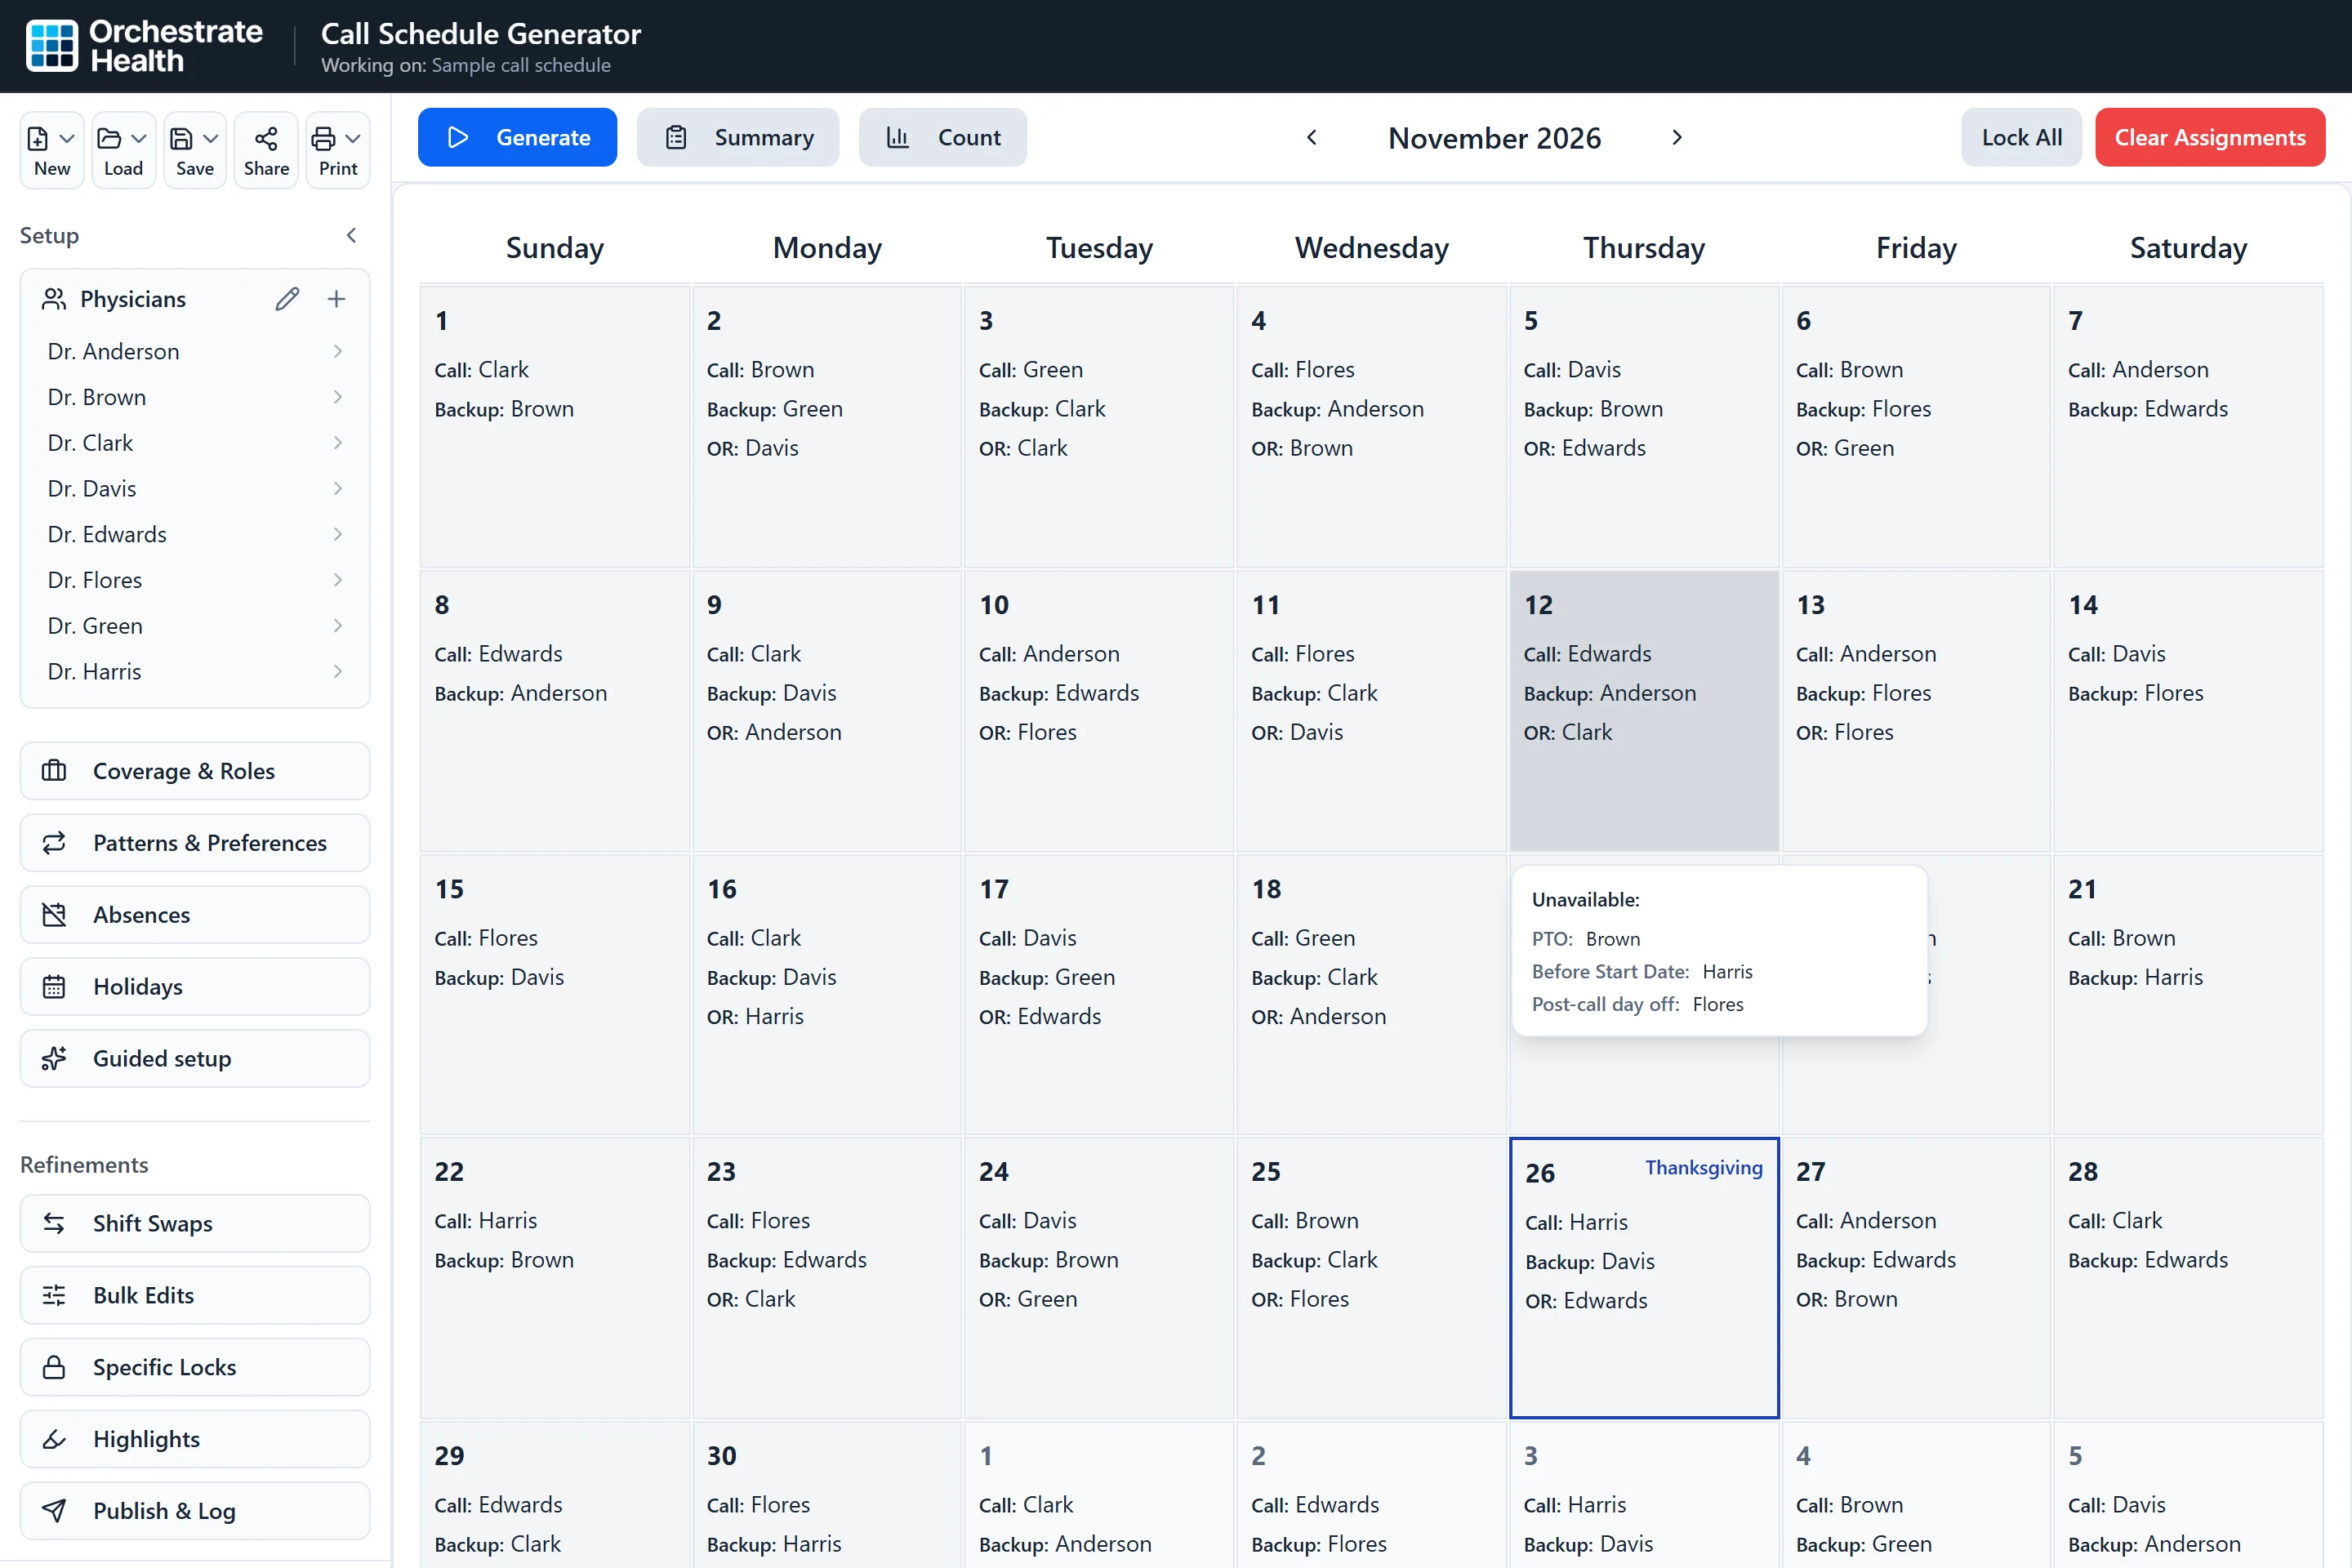
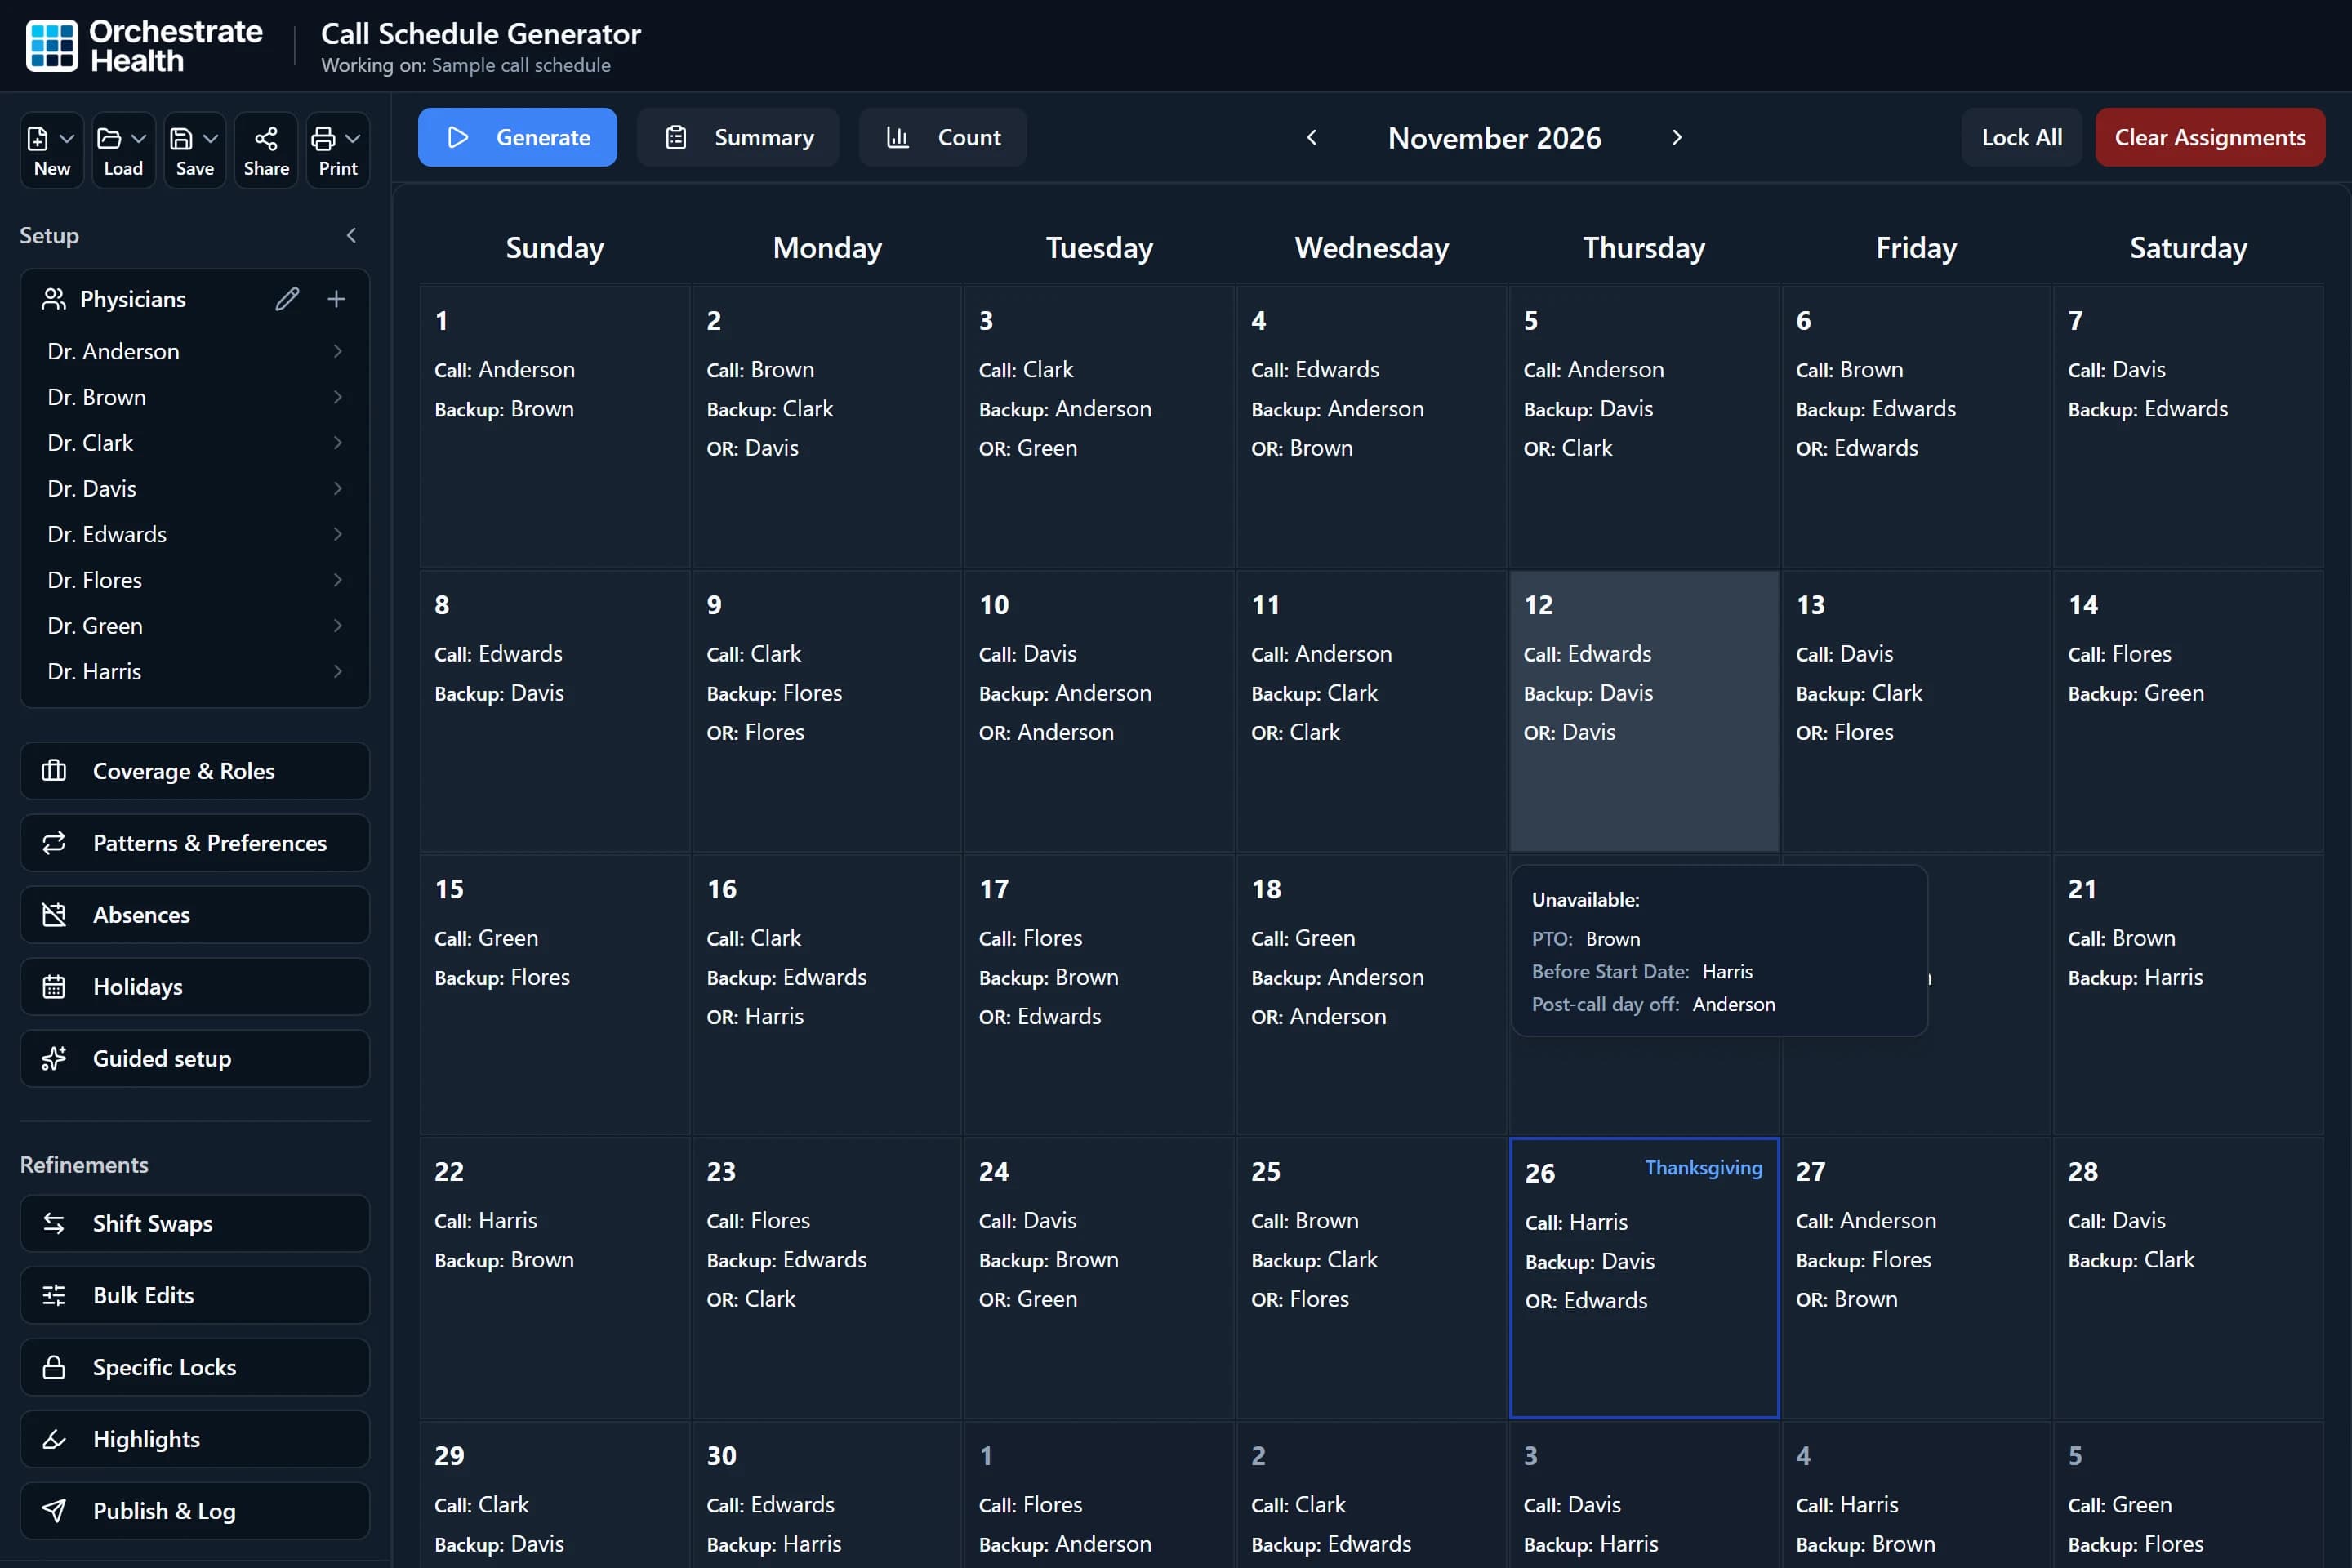
The scheduler has a left sidebar for files, setup, and refinements, a toolbar along the top of the calendar, and the calendar or table itself. Display Options changes how the schedule looks without touching any assignment, and a few keyboard shortcuts open the tools you use most.
How to do it
- 1
Use the file buttons
The row at the top of the sidebar is New, Load, Save, Share, and Print. New starts a “Blank schedule” or “Sample schedule”, or imports from a file. Load holds “Version history…”, “Restore autosave”, recent schedules, “All schedules…”, and schedules shared with you. Print holds “Print / Export…” and “Download Backup”.
- 2
Set up the schedule
The Setup section starts with the Physicians box: “+” adds a physician, a name opens Physician Settings, and the pencil (“Manage physicians”) sorts physicians into groups. Below it are Coverage & Roles, Patterns & Preferences, Absences, Holidays, and “Guided setup”.
- 3
Refine the result
The Refinements section holds Shift Swaps, Bulk Edits, Specific Locks, Highlights, and “Publish & Log”. A number on Absences or Shift Swaps counts requests waiting for review, and a number on Publish & Log counts unpublished changes.
- 4
Work from the toolbar
“Generate” fills the schedule, “Summary” reopens the last generation summary, and “Count” opens the shift counts. The arrows step through months, and clicking the month name jumps to the current month. “Lock All” (or “Unlock All”) and “Clear Assignments” sit on the right. The toolbar stays pinned while you scroll.
- 5
Watch for unsaved work
The header shows the schedule you are working on, or “Untitled schedule (use Save As to name)”. When a named schedule has edits that are not saved, “· Unsaved changes” follows its name and the Save button shows an amber dot.
- 6
Change the display
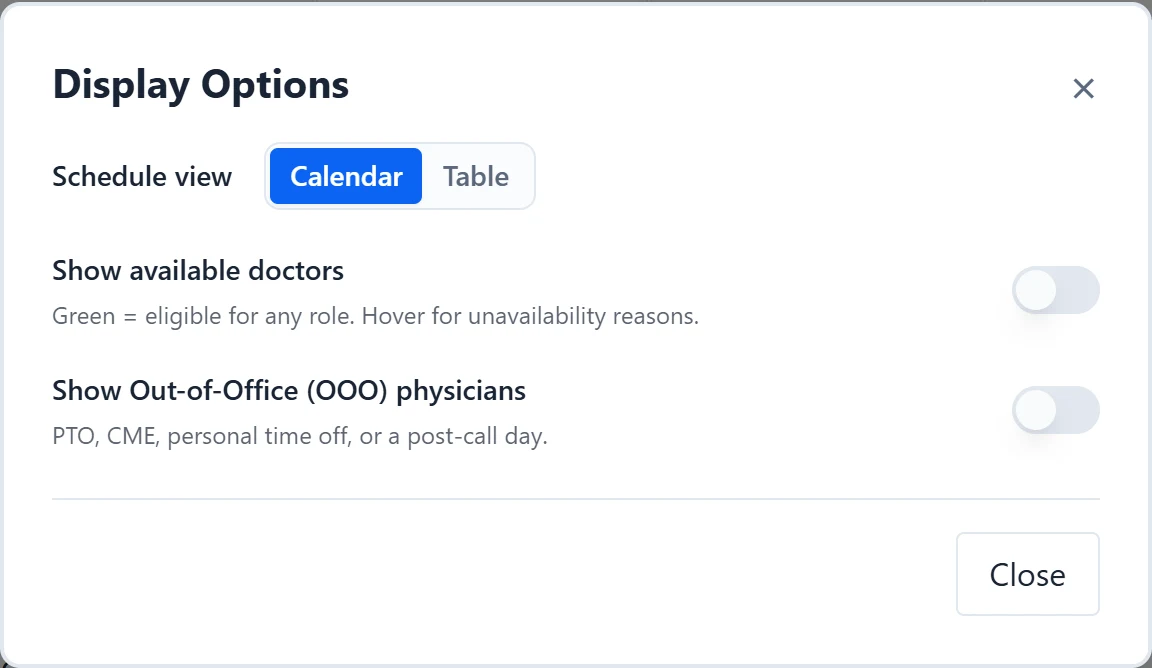
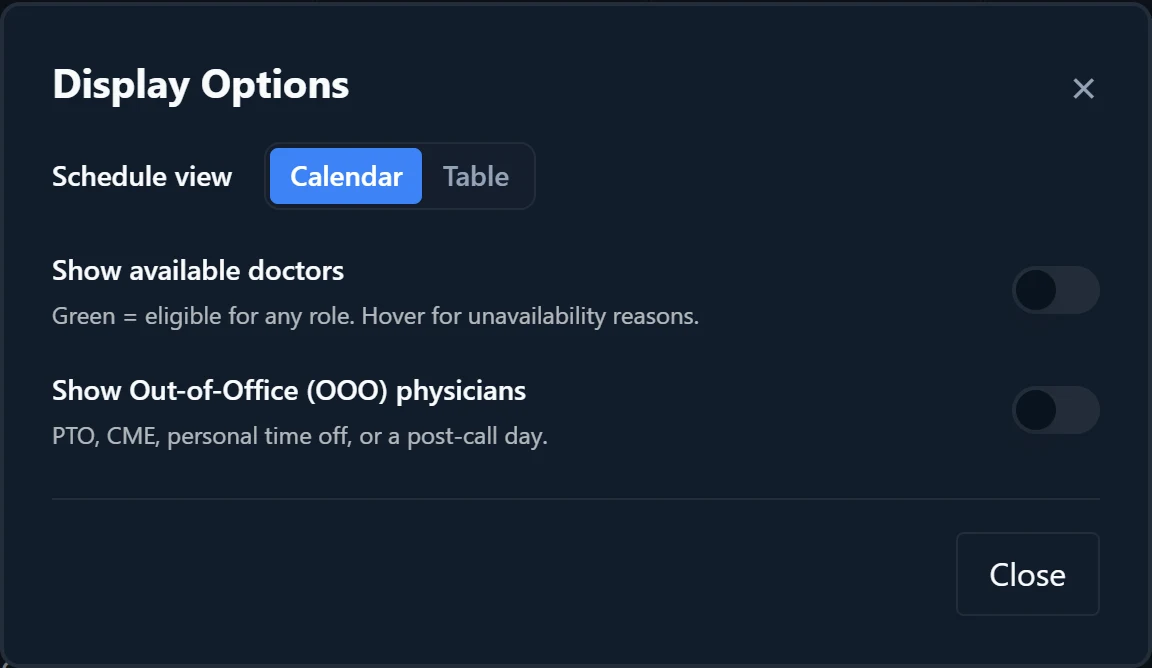
Choose “Display Options” at the bottom of the sidebar. “Schedule view” switches between Calendar and Table. “Show available doctors” marks who is free each day: “Green = eligible for any role. Hover for unavailability reasons.” “Show Out-of-Office (OOO) physicians” shows who is away for PTO, CME, personal time off, or a post-call day.
- 7
Use keyboard shortcuts
Press C for Count, R for Coverage & Roles, P for Absences, or H for Highlights. Ctrl+S saves and Ctrl+P opens Print / Export. On a Mac, use Cmd instead of Ctrl.
- 8
Get help
“Help”, under Display Options, offers “Quick walkthrough”, a short guided tour, and “Help Center”.
Good to know
- Single-letter shortcuts do nothing while you are typing in a field, while a dialog is open, or while Ctrl, Cmd, or Alt is held. Ctrl+S and Ctrl+P work even while you type.
- Display Options only change what you see. Settings that affect the schedule live with the rest of setup: “Count Fridays as weekend days” and, when a role repeats by week of the month, the weeks-of-the-month setting are in Patterns & Preferences, and “Show clinic availability” is in Coverage & Roles.
- To give the calendar more room, use the arrow beside the Setup heading to collapse the sidebar. The arrow at the top of the narrow bar brings it back.